


Episode 1 & Episode 2 | Coffee Table Conversations on Serverless & Modernization with Jeevan and Prashanth
What is Serverless or Faas❓
Serverless architecture is a way to build web applications and services without managing backend infrastructure. In a serverless architecture, cloud providers like DigitalOcean provision, manage, and scale the backend servers and components required to host applications so you can focus on writing and deploying code instead of maintaining the infrastructure that host your applications.
What is DigitalOcean Functions❓
DigitalOcean Functions is a fast, scalable, and cost-effective serverless compute solution that enables you to build quickly, scale automatically, and save costs by removing the need to pay for idle resources. Functions are snippets of code that run in response to event-based triggers, and it allows developers to create serverless functions for a variety of purposes, including serverless APIs for your web apps and mobile apps. For example, you can write a traditional Node.js function that returns a list of products from a database and then deploy that function to the Functions service. Once deployed, users and applications can retrieve data from the database by making an HTTP request to the function’s URL.
🎖 Perks of DigitalOcean Serverless architecture 🎖
Using serverless functions can make applications more lightweight and secure. Because you only pay for DigitalOcean Functions when a function runs, serverless architecture is often less expensive for apps with variable levels of traffic.
Key Features
- Unified experience for server-full and serverless
- Build apps that require long-running servers and on-demand functions, with an integrated experience and workflow. Easily extend existing applications with new serverless functionalities.
- Seamless integration with Managed Databases
- If you’re building an app that needs a database, you can easily add a managed database in the app creation process. Connections between the apps and databases are secure with features such as trusted sources.
- Test your functions with Functions developer console
- Develop functions locally using your favorite editors and IDEs, ship quickly to the cloud, and live-preview your functions before committing your code to GitHub or GitLab and deploying to your app in production.
- Support for common languages and runtimes
- Out-of-the-box support for many popular runtimes, including Node.js, Python, Go, and PHP. Automatic patches and updates to ensure the execution environment is stable and secure.
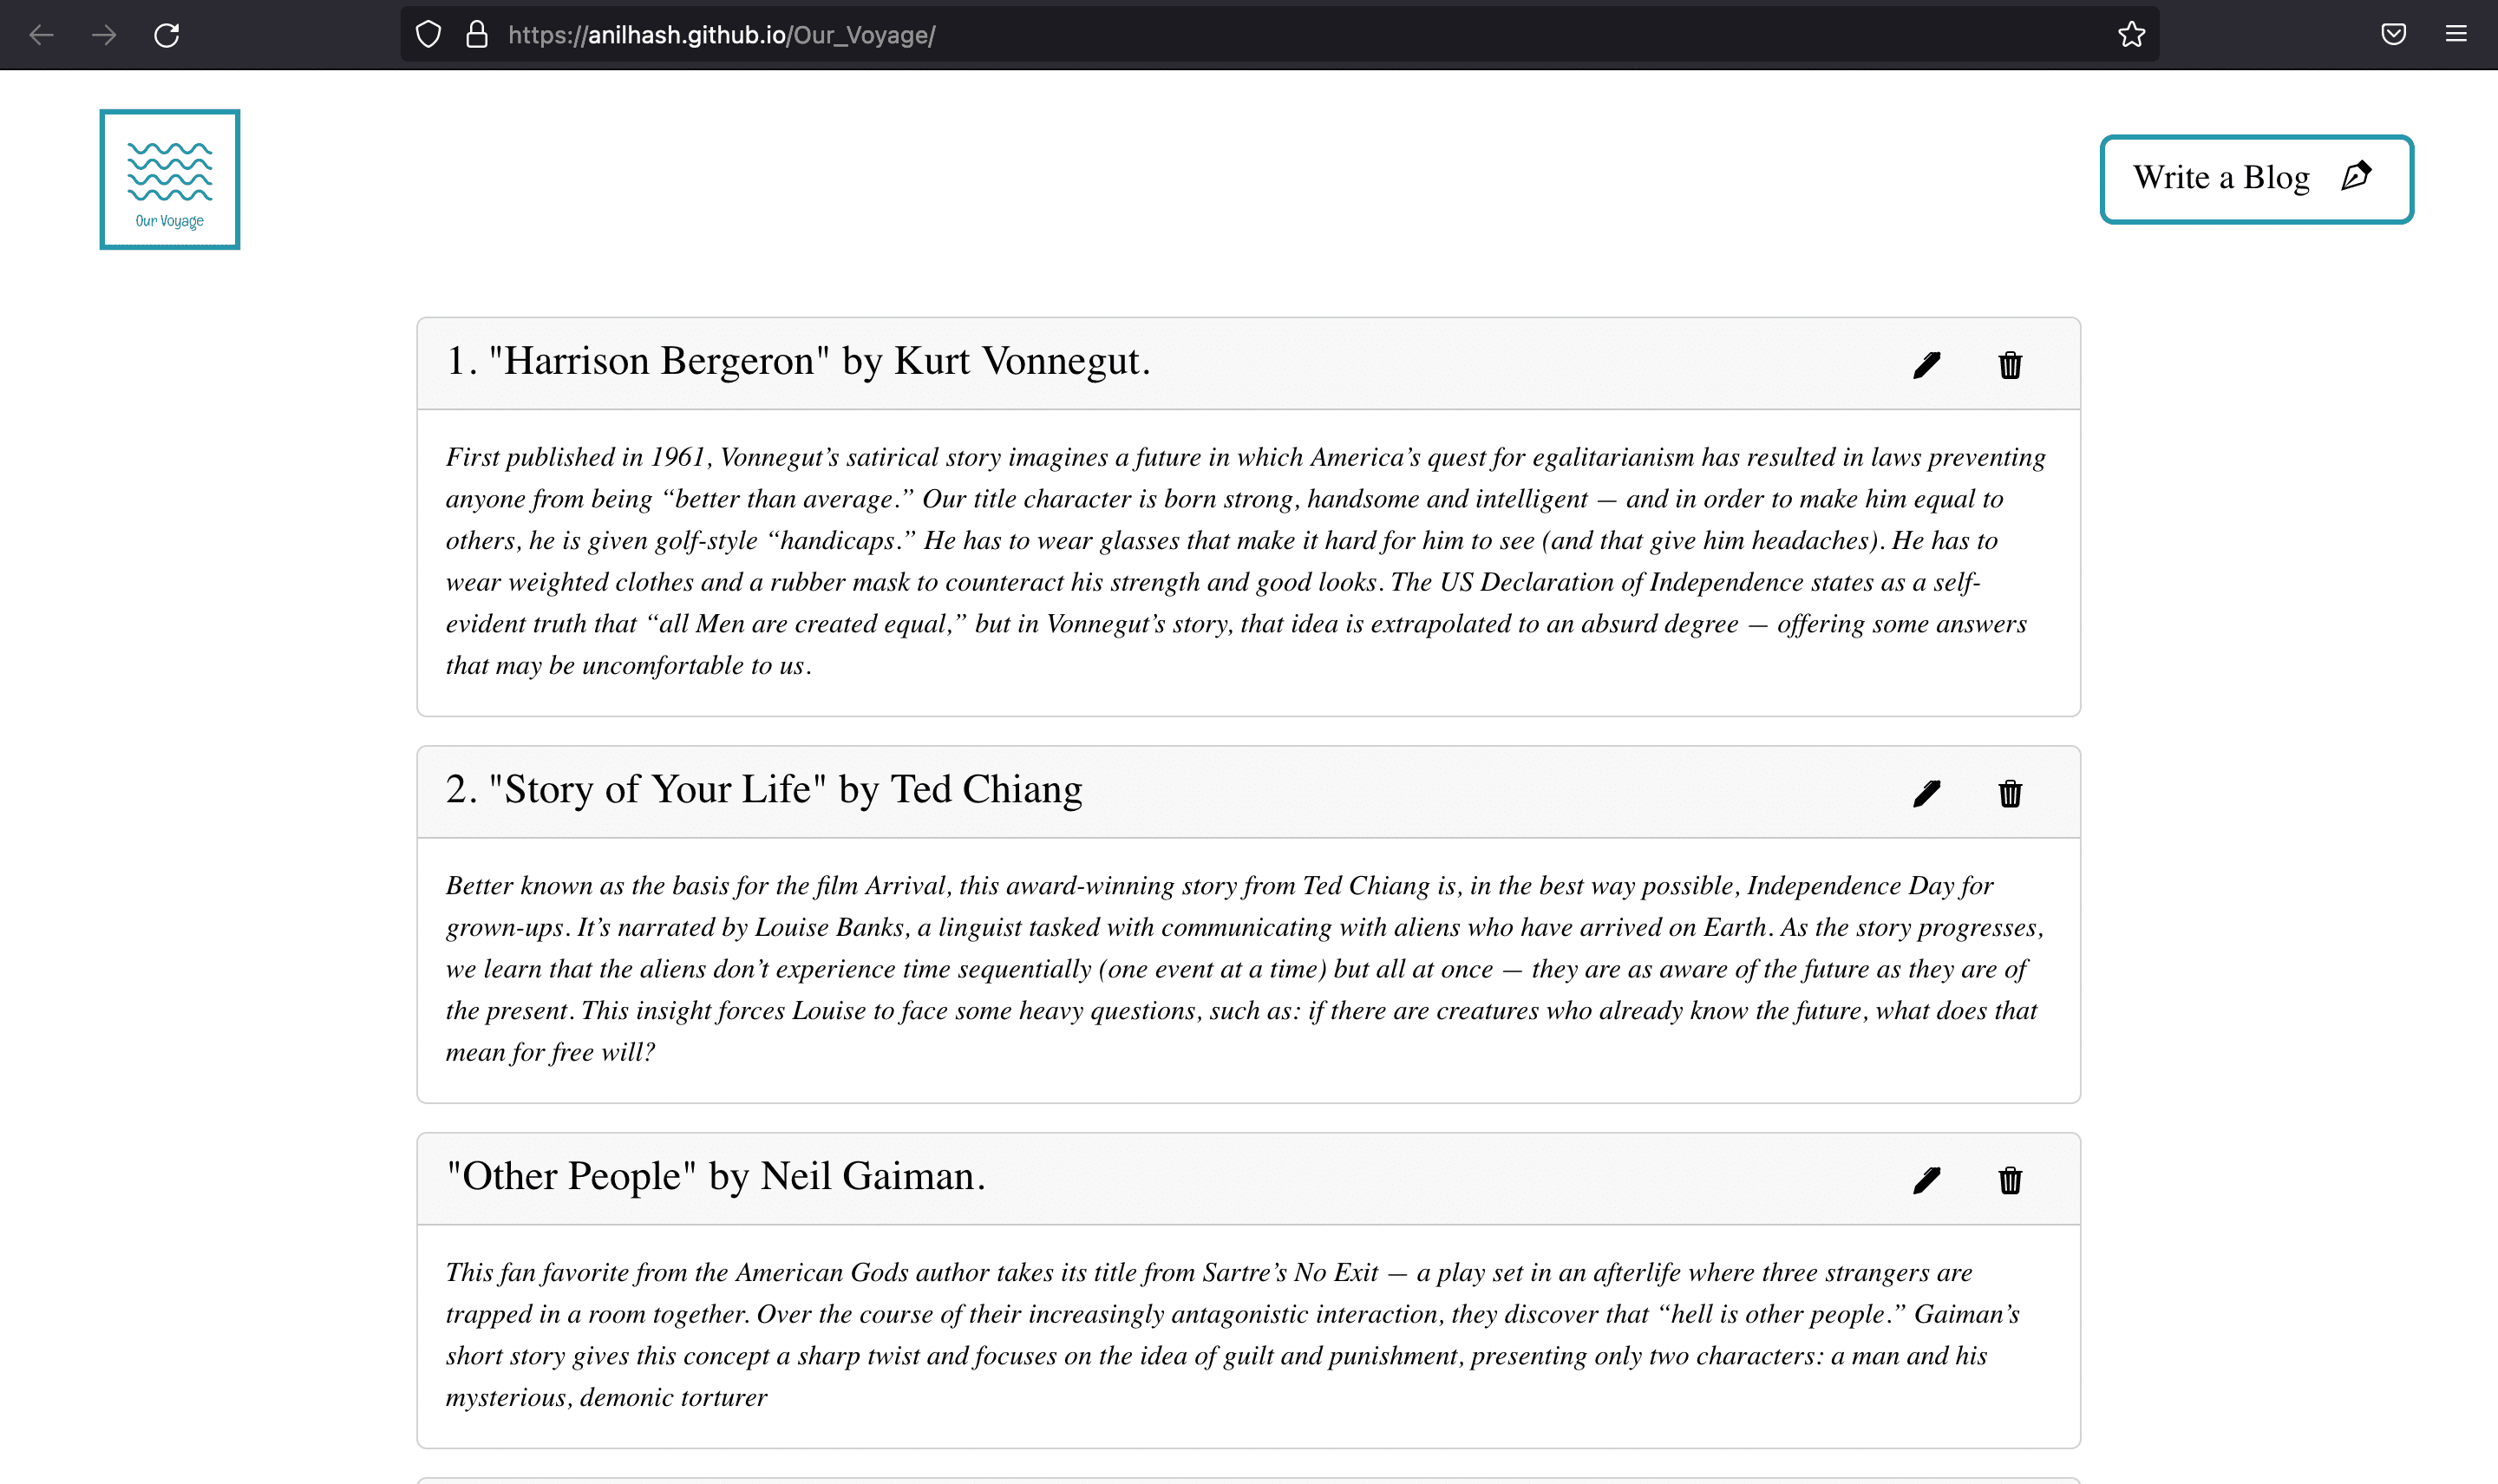
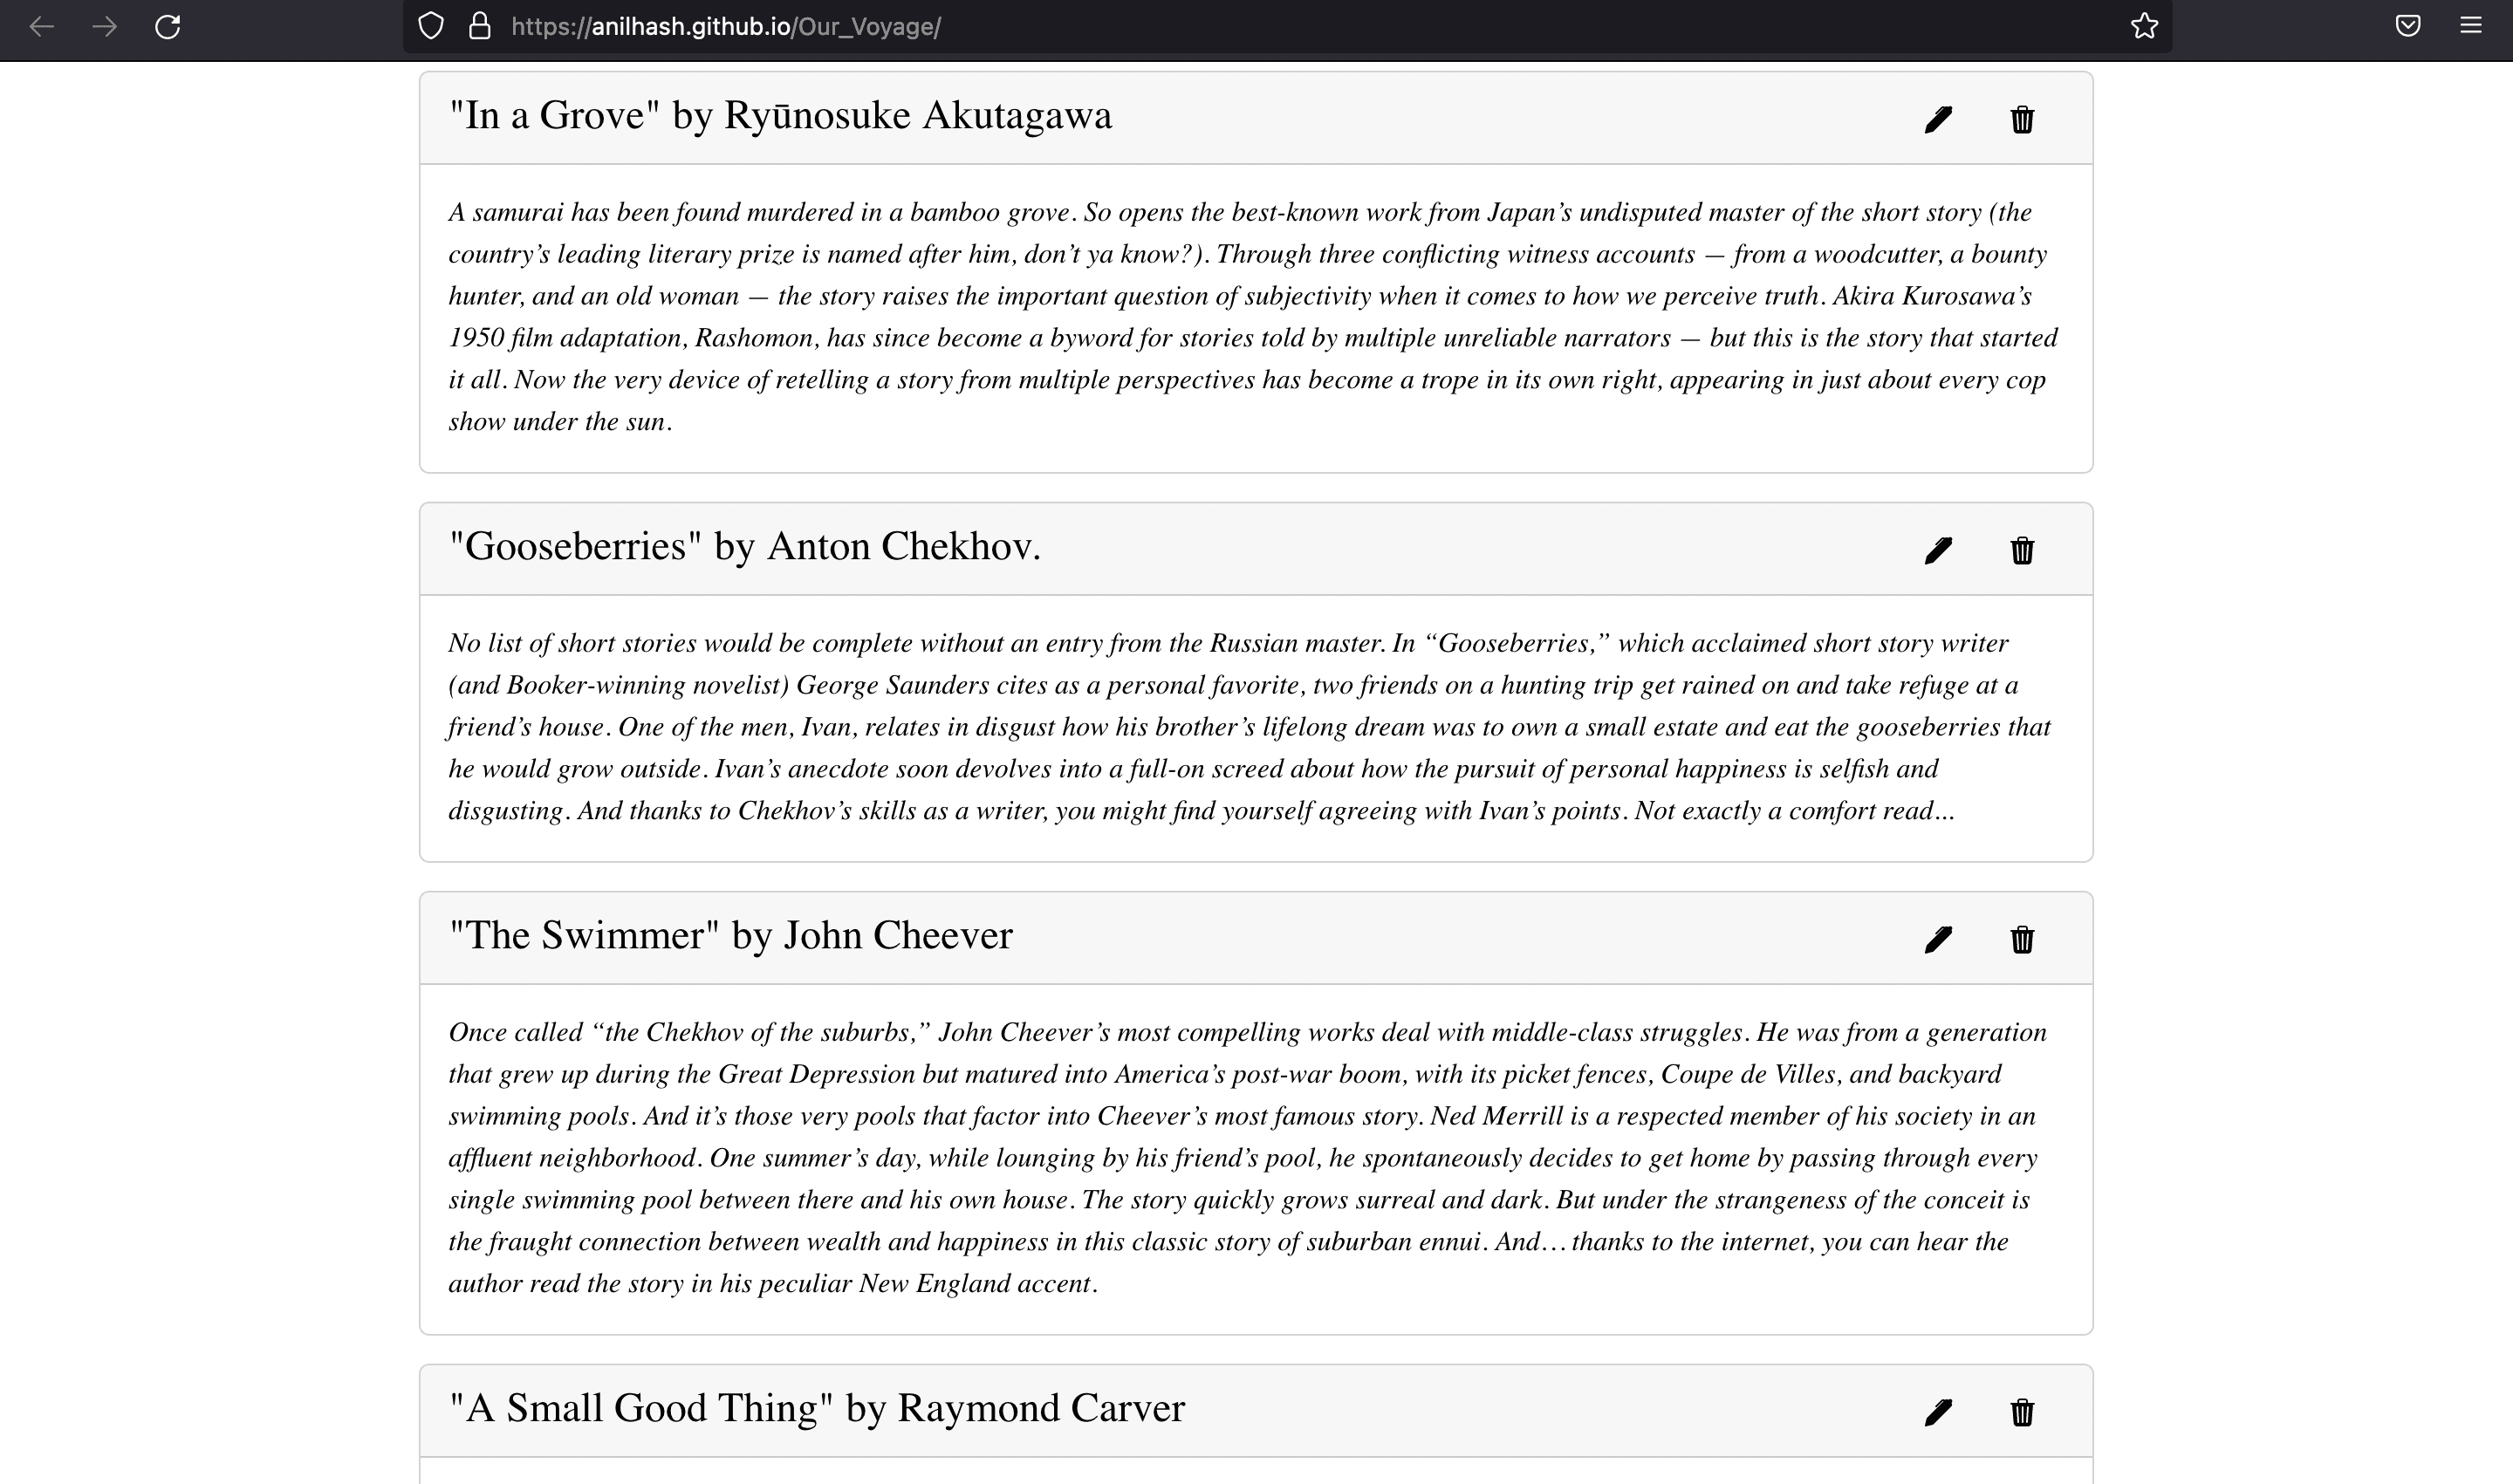
In this tutorial series, you will deploy a Blogs website that uses DigitalOcean Functions to retrieve and post data to a MongoDB database
🗒 Content
The series consists of two parts:
- 1️⃣ : Deploy a MongoDB database from the DigitalOcean Control Panel.
- 2️⃣ : Set up serverless functions and connect them to the database.
About the Application
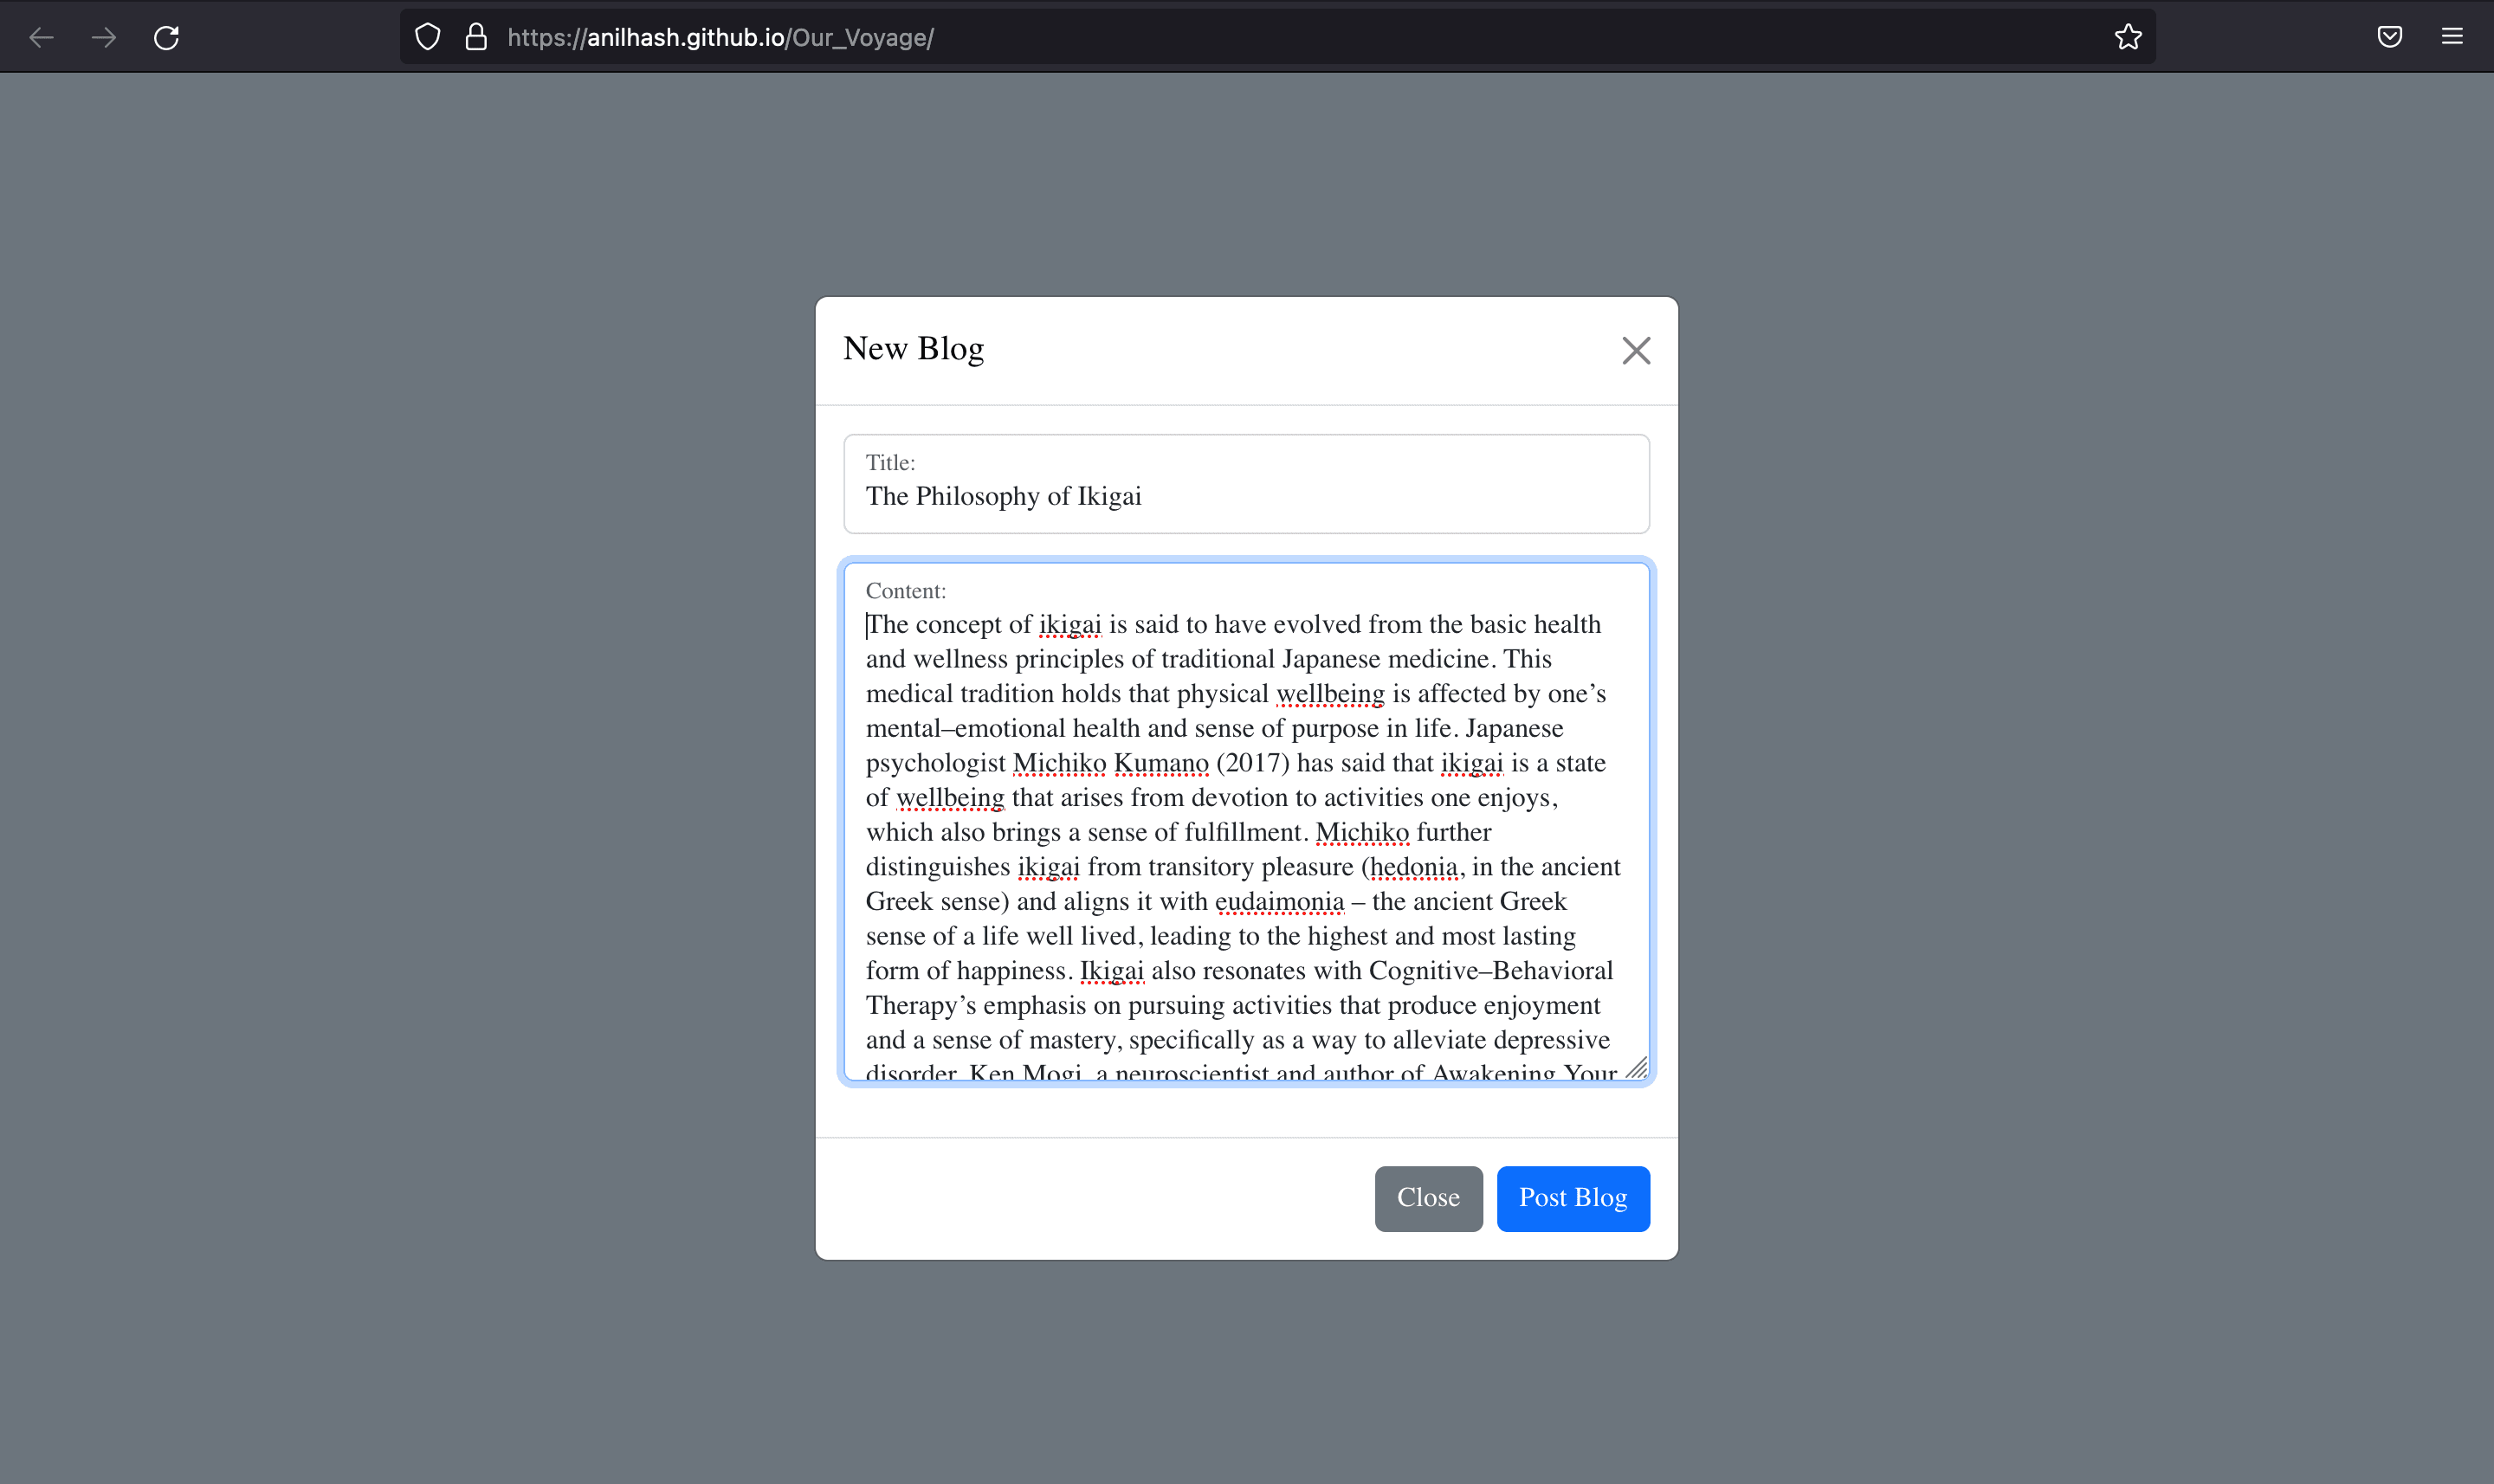
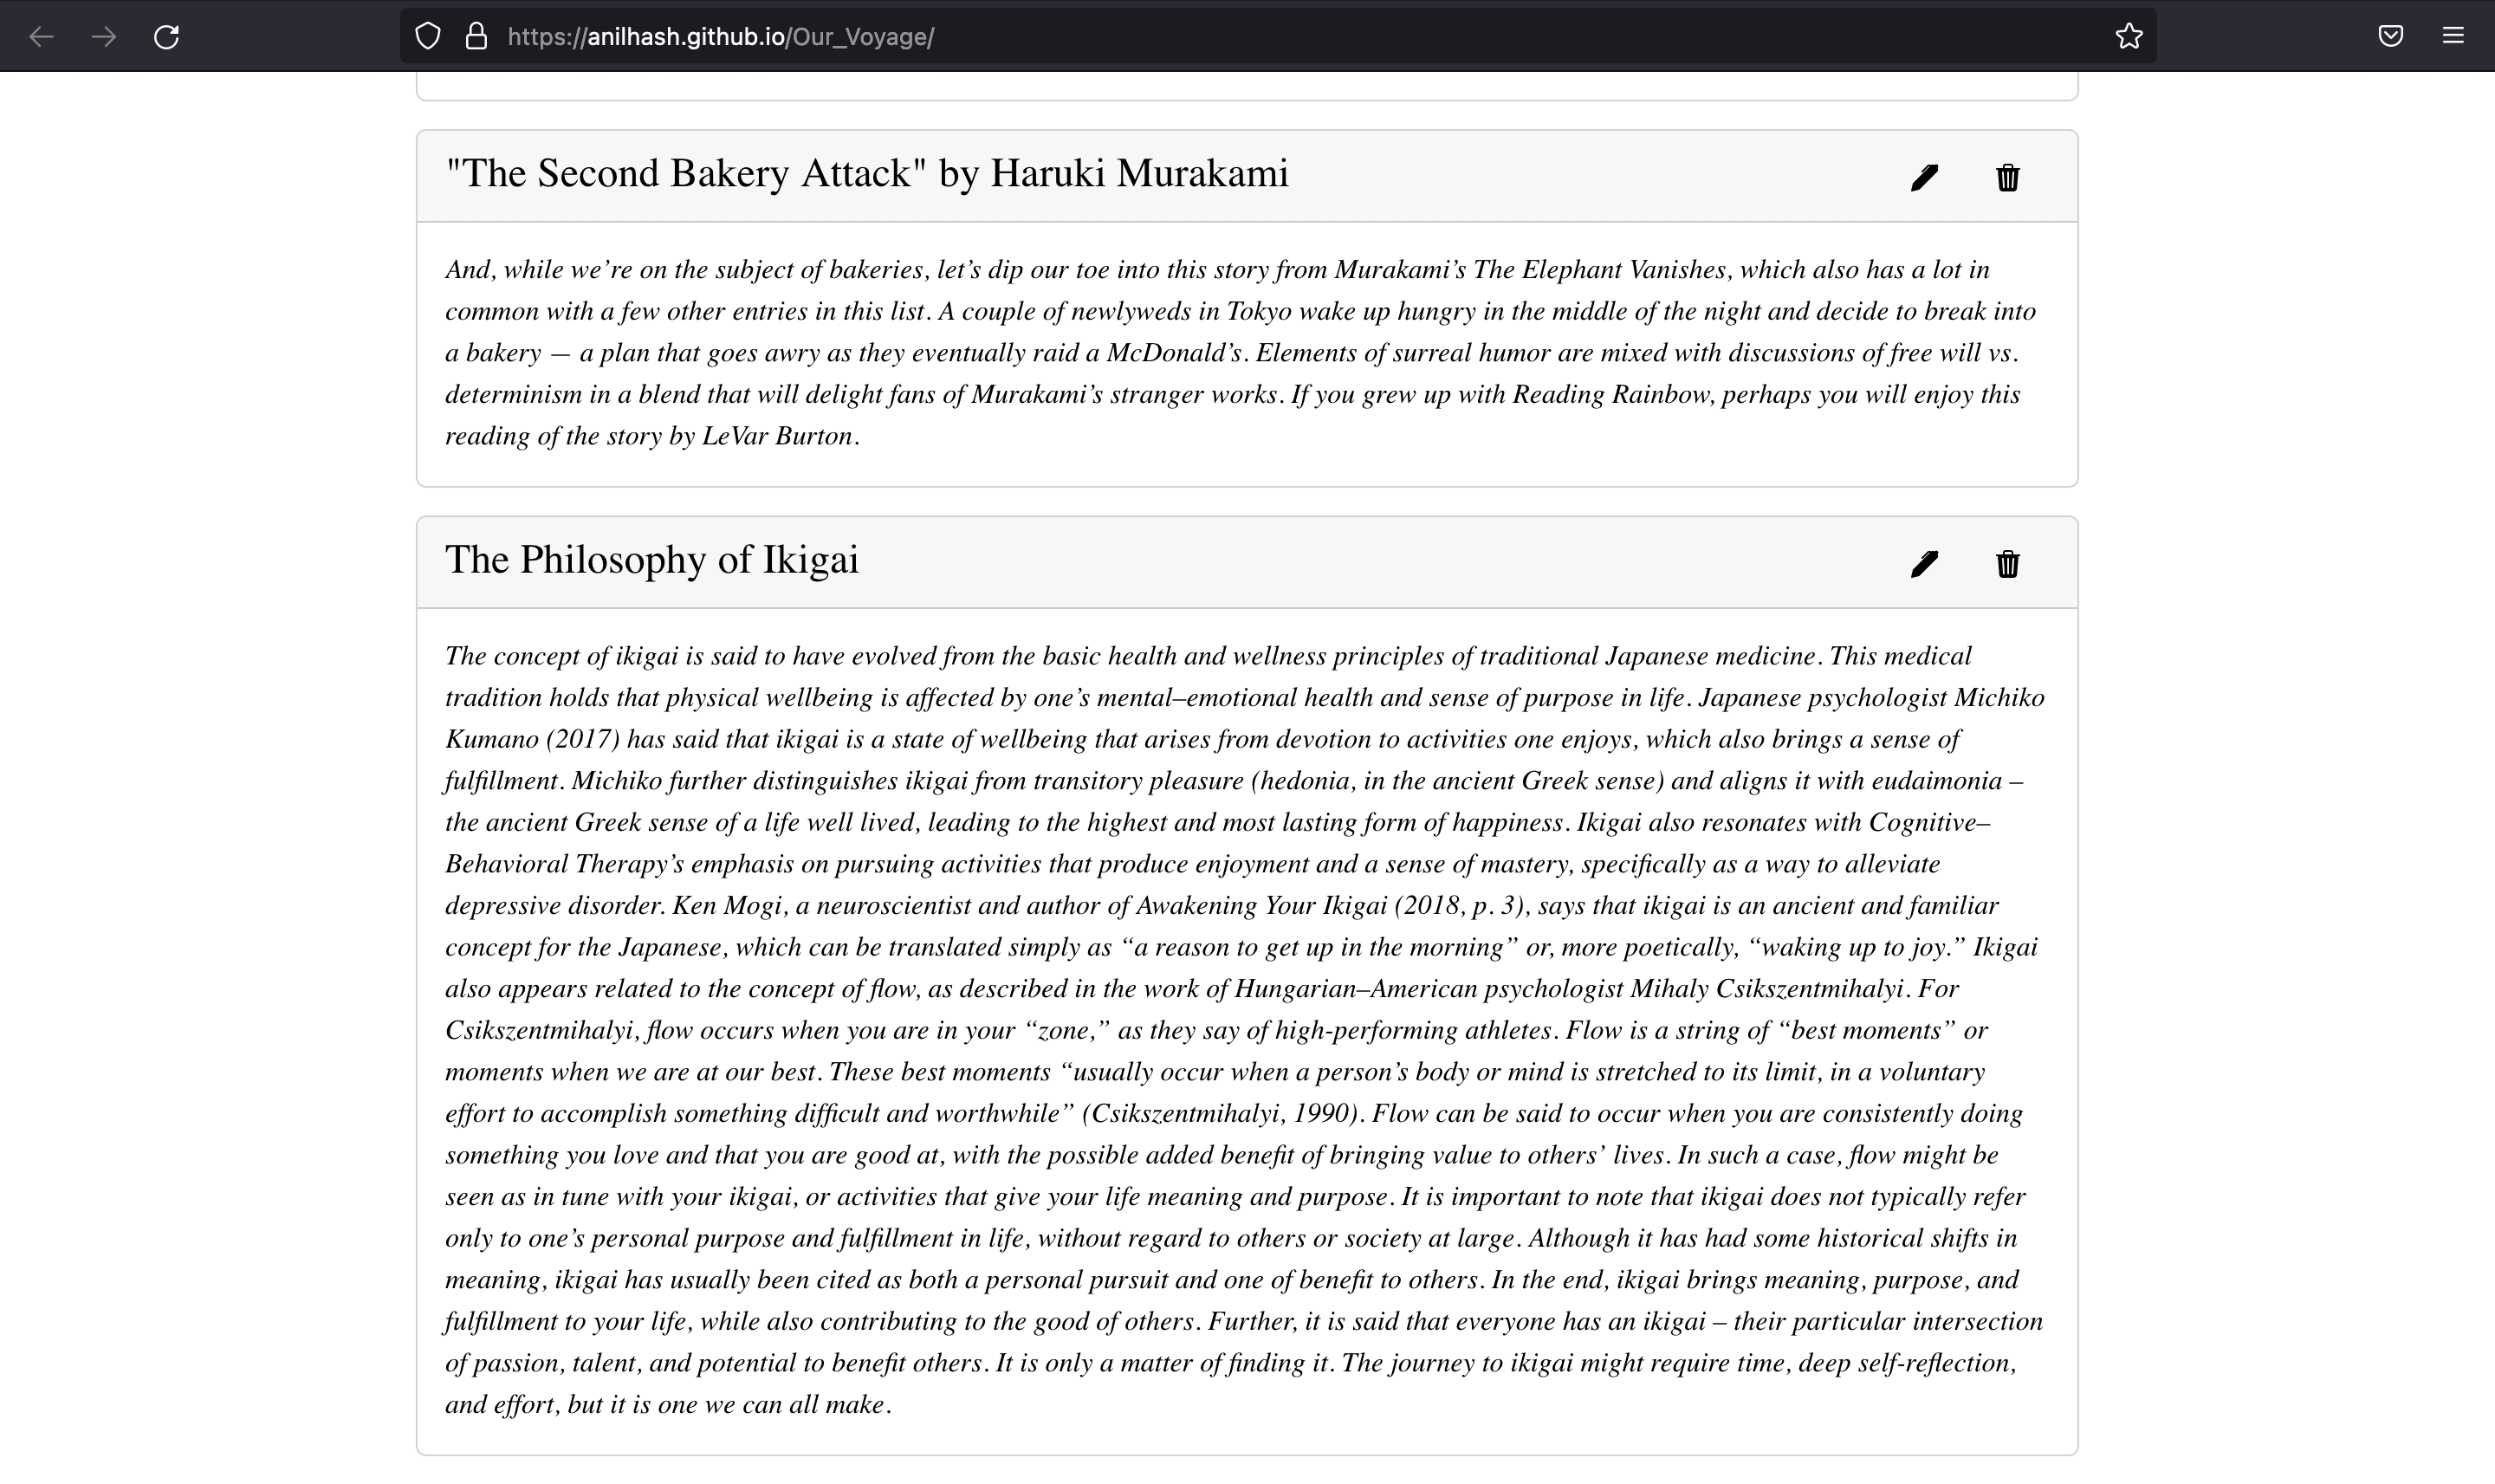
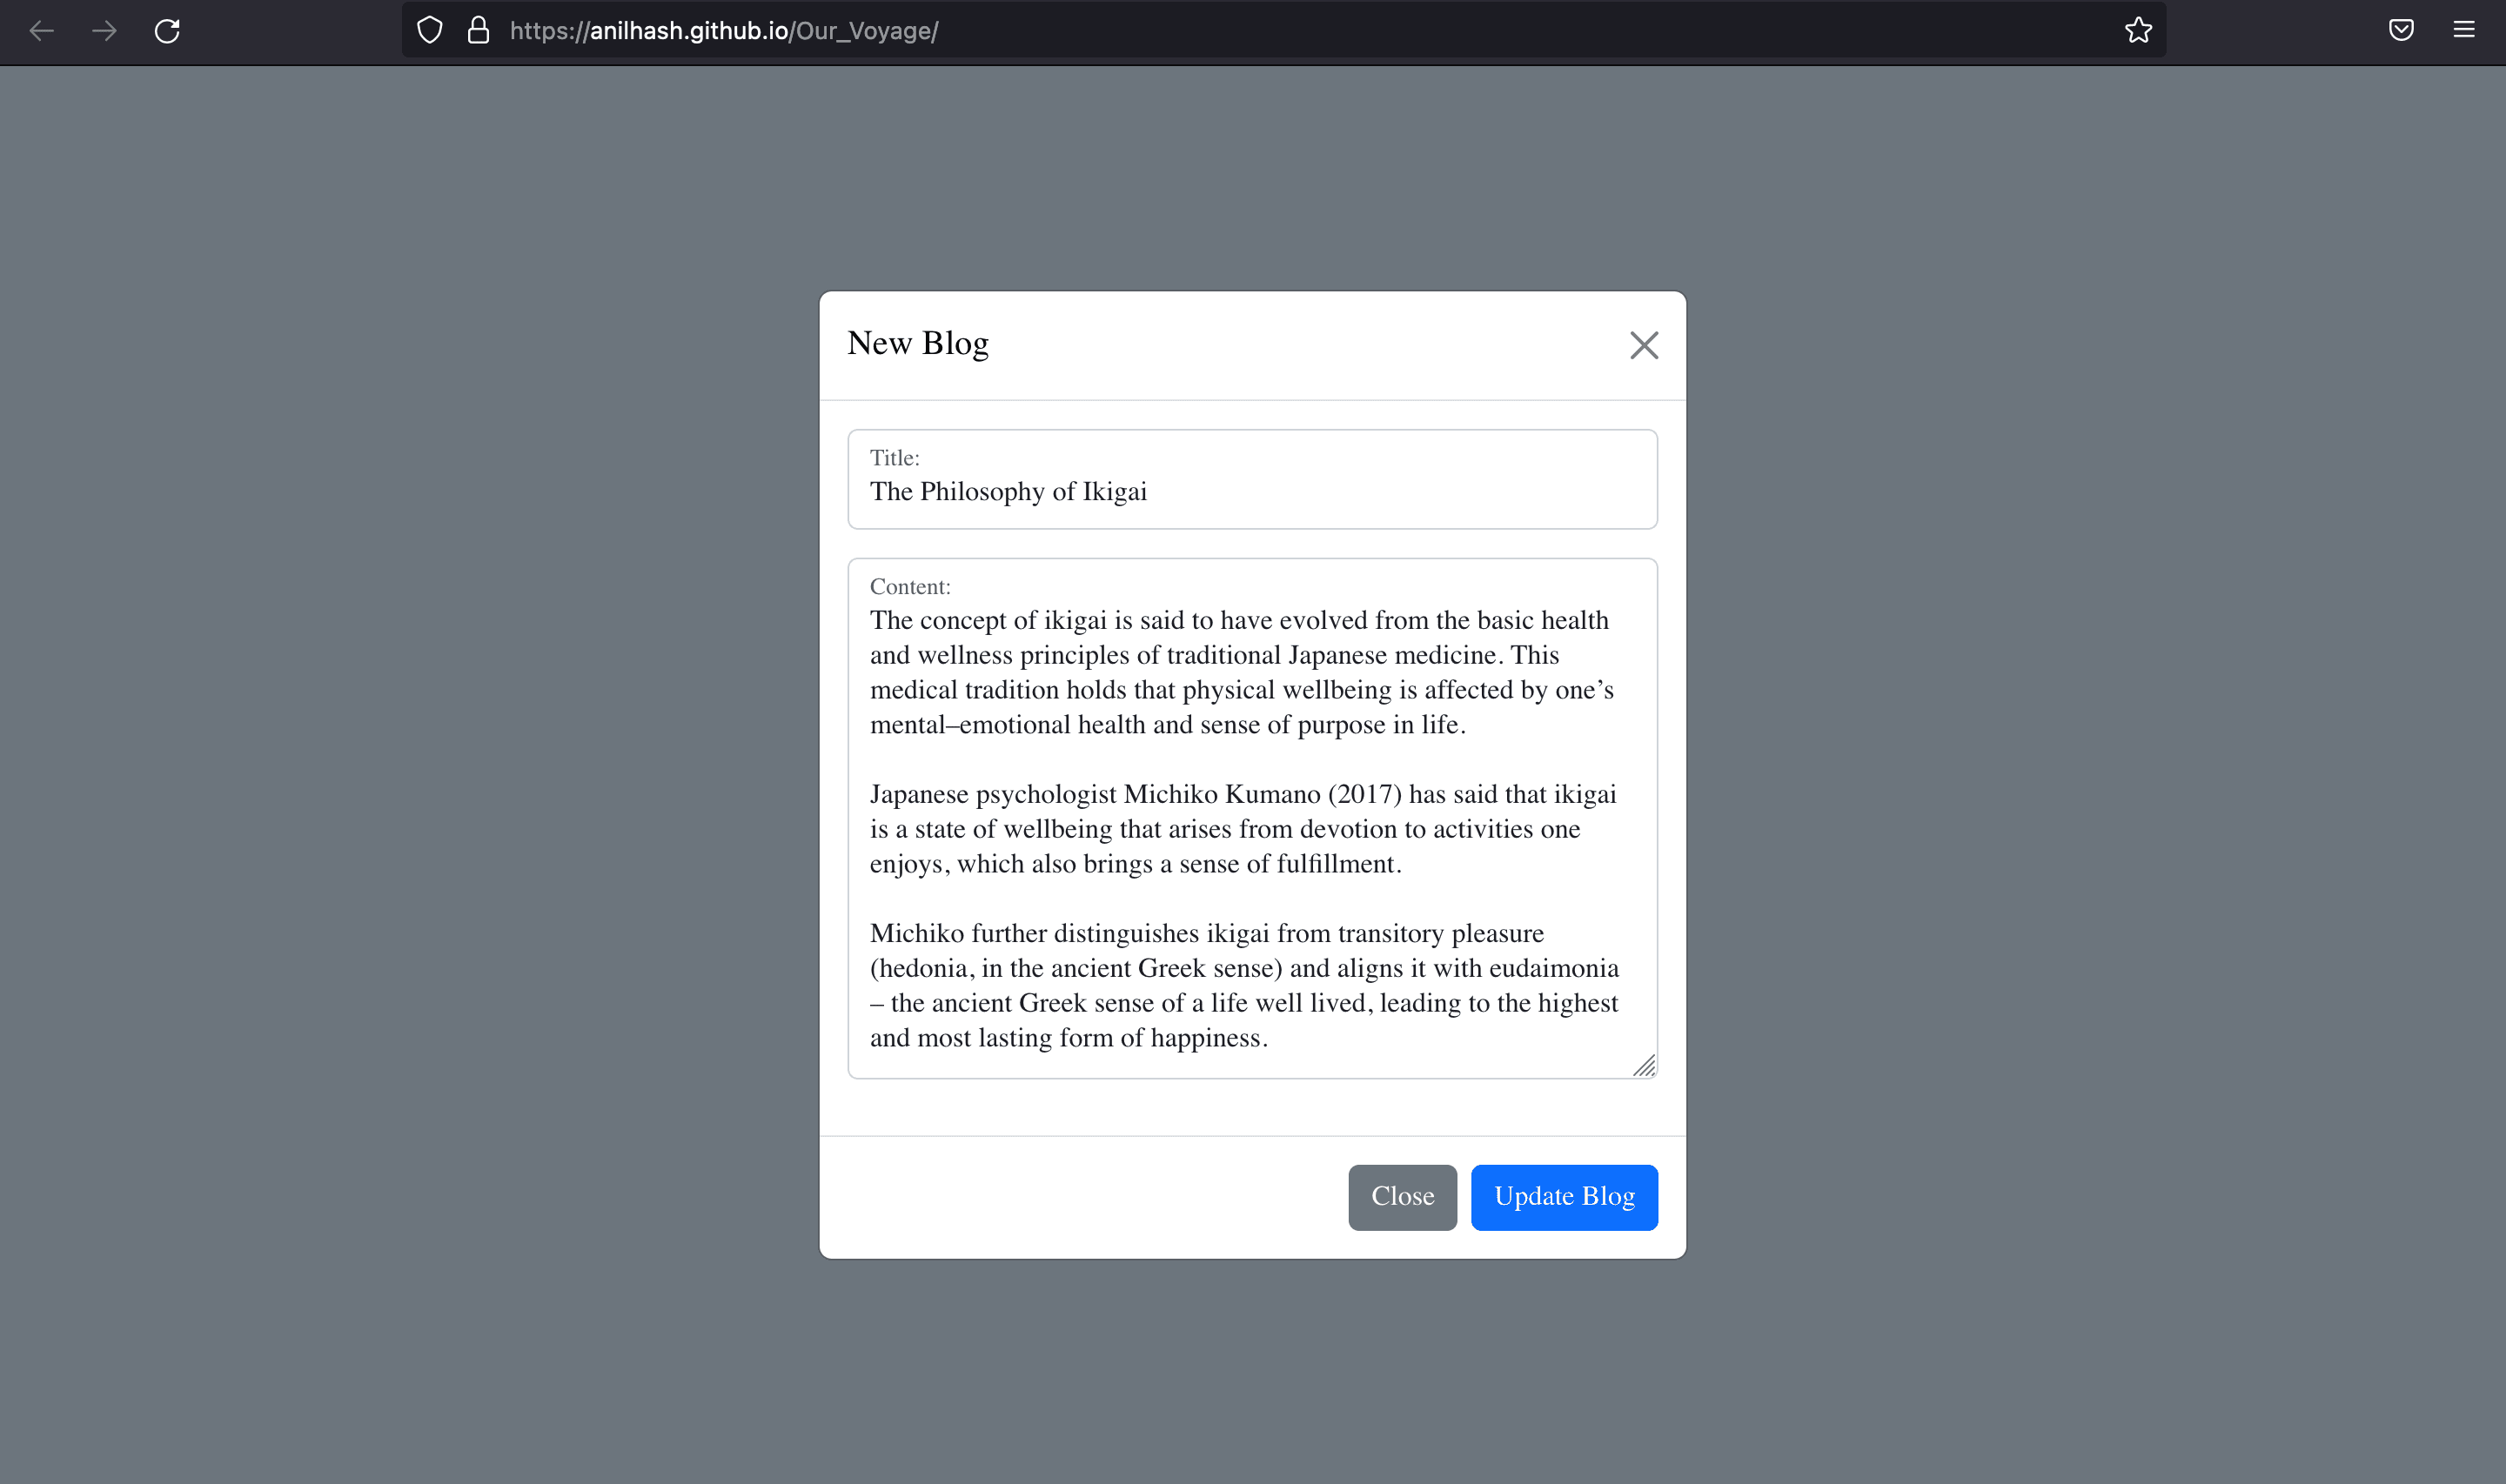
The application in this tutorial is a simple Blogs application with the CRUD functionality:
- You can create blogs with title and body.
- You can view all the blogs created.
- You can update all the blogs created.
- You can delete all the blogs created.
Sample Image
Tutorial
Part 1️ - Deploy a MongoDB Database cluster in DigitalOcean
In this part of the tutorial, you will:
- Create a MongoDB database cluster and add a database to it.
- Connect to the database cluster.
Prerequisites
To complete this part of the tutorial, you need:
- To install the latest version of MongoDB Compass onto your local machine. MongoDB Compass is a GUI for querying, aggregating, and analyzing MongoDB data in a visual environment.
Step 1️⃣: Deploy and Set Up a MongoDB Database Cluster
To begin setting up the application, you need to create a database to store the blog’s data. In this step, you will create a MongoDB database cluster using the DigitalOcean Control Panel and add a new database to it.
To create a MongoDB database from the DigitalOcean Control Panel, click the Create button in the top right of the screen, then select Databases from the drop-down menu.

On the database creation page, select MongoDB in the Choose a database engine section. In the Choose a name field, name the database Blogs. The sample code in the rest of this tutorial series expects the database to have this name.
Leave the rest of the configuration options on their default settings and then click Create a Database Cluster to deploy the cluster. This may take several minutes to complete.
Once the cluster has been created, you need to create a new database in the cluster. To do this, from the database’s Overview page, click the Users and Databases tab. In the Databases section, in the Add new database field, enter the name Blogs and then click Save.
Once you’ve created the new database, click the Overview tab and locate the CONNECTION DETAILS section. This section contains your database’s connection credentials.

Next, in the Connection Parameters drop-down menu, click Connection string. In the Database drop-down menu, click the Blogs database. The CONNECTION DETAILS section populates with a connection string you can provide to MongoDB Compass to connect to the database cluster. Copy the string to connect to the database in the next step.
ℹ️ Note :
The connection string contains the placeholder value
. If you don’t know the password for your cluster’s admin user, you can reset the password in the cluster’s Users and Databases tab.
Step 2️⃣: Connect to the Database Cluster
To connect to the database cluster, open MongoDB Compass on your local machine. On the New Connection screen, paste the cluster’s connection string into the URI field, replacing the
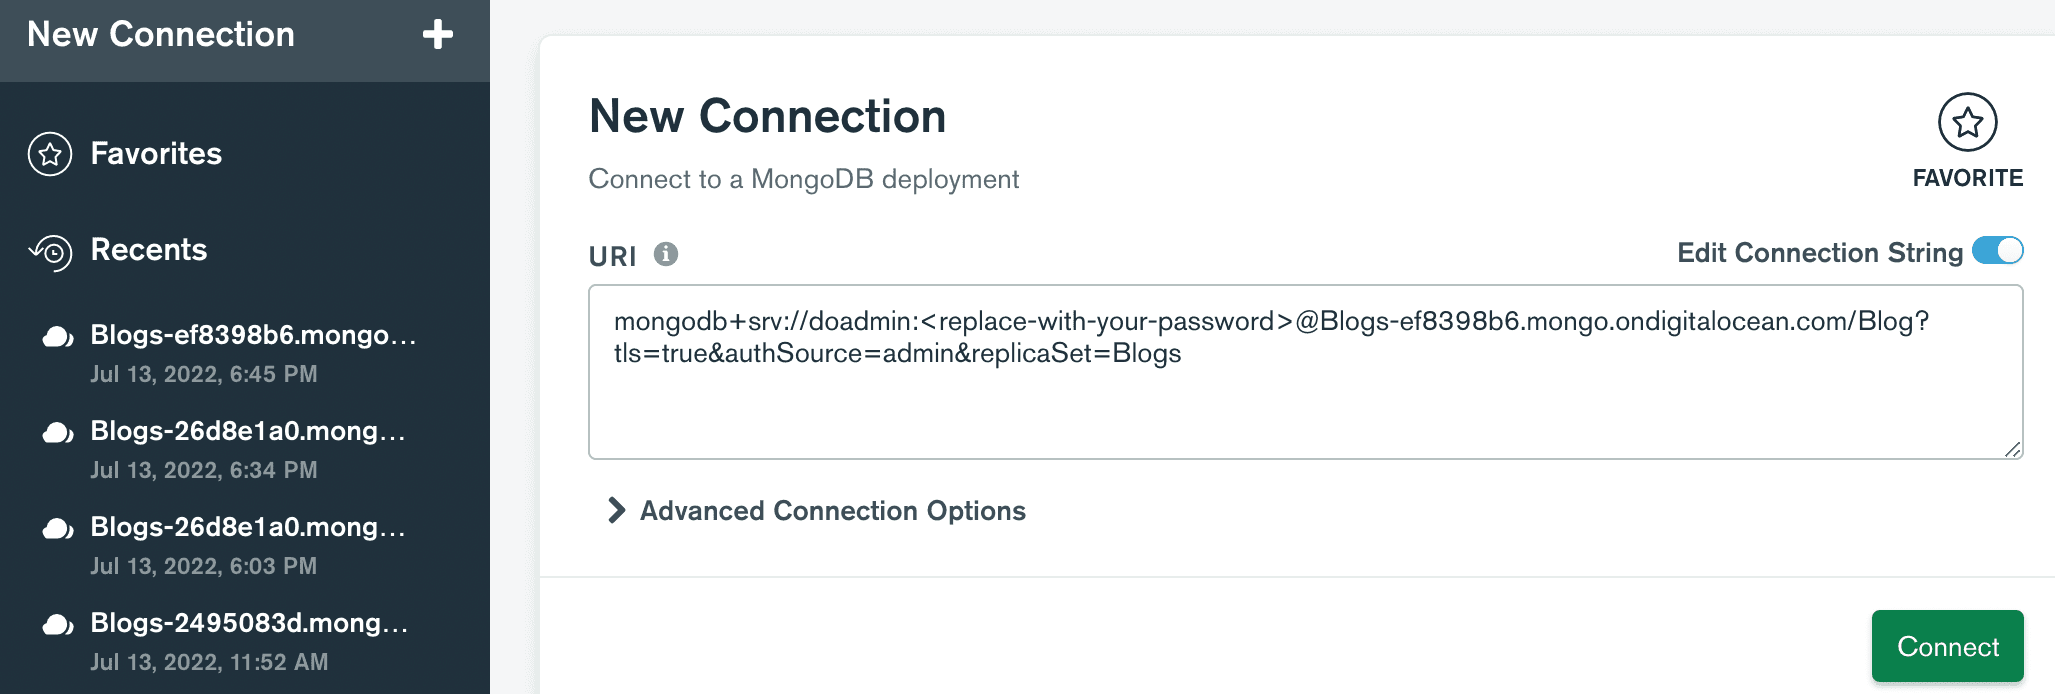
Click Connect. MongoDB Compass connects to the cluster.
Part 2 - Add Serverless Functions to App
In this part of the tutorial, you will:
- Configure the app’s environment variables.
- Add Node.js functions to the app that connect to the MongoDB database.
- Deploy and test the functions using the doctl CLI.
Prerequisites
To complete this part of the tutorial, you’ll need:
- To fork the sample Blog repo into your GitHub account and then clone it to your local machine.
- To install the latest version of doctl, the official DigitalOcean CLI.
- To install the latest version of the Node.js.
Step 1️⃣: Configure Environment Variables
In the previous part of this tutorial, you copied the database’s connection string and downloaded its CA certificate. In this step you will use these elements to configure the app’s environment variables that it requires to access the MongoDB database.
Similar to most application structures, you can set up a .env file in the blogs-backend directory of your project to contain your app’s environment variables. When you deploy your functions, the DigitalOcean Functions service automatically copies the values in the .env file and makes them available to your functions in the cloud.
To set up the environment variables, create a .env file in the blogs-backend directory of the prerequisite repo using the nano text editor or your preferred text editor:
nano .env
In the file, paste the following variable into it, replacing the placeholder values with your database’s connection string.
DB_URI=your_databases_connection_string
The resulting file should look something like this:
DB_URI=mongodb+srv://doadmin:<replace-with-your-password>@Blogs-ef8398b6.mongo.ondigitalocean.com/Blog?tls=true&authSource=admin&replicaSet=Blogs
Once you’ve defined the variable, save the file and close it.
Step 2️⃣: Add Functions to App
Next, you need to add Node.js functions to the app that connect to the MongoDB database cluster and retrieve and post data to the database.
To add functions to your app, you need to create a special directory called packages in the backend app’s root directory in our case blogs-backend. The packages directory is where you add and organize your functions, and it requires a specific structure to ensure that your functions deploy correctly.
Here how it should look once you create the structure :
blogs-backend/
│---packages
│   └── blogs
│       ├── createBlogs
│       │   ├── createBlogs.js
│       │   ├── db.js
│       │   └── package.json
│       │
│       ├── deleteBlogs
│       │   ├── deleteBlogs.js
│       │   ├── db.js
│       │   └── package.json
│       │
│       ├── getBlogs
│       │   ├── getBlogs.js
│       │   ├── db.js
│       │   └── package.json
│       │
│       └── updateBlogs
│           ├── updateBlogs.js
│           ├── db.js
│           └── package.json
│
│── .env
│── .gitignore
└── project.yml
Each child directory in the packages directory represents a single package, and each child directory of a package represents a single function. packages can contain an arbitrary number of packages, and each package can contain an arbitrary number of functions.
In this tutorial, the app contains a package directory called blogs which contains four functions: createBlogs, getBlogs, deleteBlogs, updateBlogs.
After you’ve set up the package directory, navigate to the createBlogs directory to add your first function.
You can think of each function as its own self-contained Node.js project. This means that the package.json file your function relies on should be in the same directory as your function.
To initialize the createBlogs directory for a Node.js project, run:
npm init
And then change the entry point to : createBlogs.js
This creates the package.json file that Node.js uses to track the project’s meta data, dependencies and attributes. The functions in this tutorial require the mongoose module, MongoDB’s ODM for Node.js. This allows your functions to connect, retrieve, and post data to the database.
Because functions can be deployed and tested from the cloud, you do not need to install the modules locally. Instead, you can use –package-lock-only flag to update the package.json file with the function’s required dependencies without installing them. To update the package.json file with this function’s dependencies, run:
npm install --package-lock-only mongoose
After updating the function’s dependencies, create a file called createBlogs.js and db.js in the createBlogs directory. This file will contain your function’s code.
In the text editor, paste the following code into the db.js file:
const mongoose = require('mongoose')

const dbURI = process.env.DB_URI;

// establishing connection with the MongoDB database

(
    async () => {
        try {
            await mongoose.connect(dbURI);
            // if connected successfully logging connected successfully
            console.log("Connected to database")
        } catch (error) {
            // logging the error
            console.log(error.message);
        }
    }
)()
In the text editor, paste the following code into the createBlogs.js file:
const mongoose = require('mongoose');

require('./db');

const blogsSchema = new mongoose.Schema({
    title: {
        type: String,
        required: true,
    },
    body: {
        type: String,
        required: true,
    },
});

const Blog = mongoose.model('blogs', blogsSchema);


module.exports.main = async (args) => {
    try {
        if(Object.keys(args).length !==0){
            const blog = await Blog.create(args);
            console.log(blog);
            return {
                statusCode : 201,
                body: blog
            };
        }else{
            return {
                statusCode: 204
            }
        }
    }catch (err) {
        console.log(err);
        return{
            statusCode: 500,
            body: err.message
        }
    }
}
This db.js file configures the MongoDB with the database’s credentials, and establish a connection.
The createBlogs.js file comments outline its functionality in detail but there are two important pieces to note:
The line (module.exports.main = main) exports the function as a Node.js module. If a function relies on any external dependencies, you must export the function as a module for it run to correctly on the DigitalOcean Functions service.
If your function is returning something, the return value must be included in a response body like this:
return {
    "body": your_data
}
After pasting the code into the file, save the file and close it.
ℹ️ Note :
1. The db.js file will be same for the all the individual directory.
2. The project structure is already mentioned above for the reference.
Now repeat the same step 2️⃣ for the packages/blogs/ directory with deleteBlogs, getBlogs, udpateBlogs directory using the same set of dependencies and the following code for the files respectively:
packages/blogs/deleteBlogs.js
const mongoose = require('mongoose');

require('./db');

const blogsSchema = new mongoose.Schema({
    title: {
        type: String,
        required: true,
    },
    body: {
        type: String,
        required: true,
    },
});

const Blog = mongoose.model('blogs', blogsSchema);


module.exports.main = async (args) => {

    const {id} = args;
    try {
        const blogs = await Blog.findByIdAndDelete(id);
        return {
            statusCode: 200,
            body : {
                message: "Deleted successfully"
            }
        };

    }catch (err) {
        console.log(err);
        return{
            statusCode: 500,
            body: err.message
        }
    }
}
packages/blogs/getBlogs.js
const mongoose = require('mongoose');

require('./db');

const blogsSchema = new mongoose.Schema({
    title: {
        type: String,
        required: true,
    },
    body: {
        type: String,
        required: true,
    },
});

const Blog = mongoose.model('blogs', blogsSchema);


module.exports.main = async (args) => {
    try {
        const blogs = await Blog.find();
        if(blogs.length){
            return {
                statusCode: 200,
                body : blogs
            };
        }else{
            return {
                statusCode: 404,
                body: {message: 'Blogs not found'}
            }
        }

    }catch (err) {
        console.log(err);
        return{
            statusCode: 500,
            body: err.message
        }
    }
}
packages/blogs/udpateBlogs.js
const mongoose = require('mongoose');

require('./db');

const blogsSchema = new mongoose.Schema({
    title: {
        type: String,
        required: true,
    },
    body: {
        type: String,
        required: true,
    },
});

const Blog = mongoose.model('blogs', blogsSchema);


module.exports.main = async (args) => {

    const {id, body} = args;
    try {
        const blogs = await Blog.findByIdAndUpdate(id,body);
        return {
            statusCode: 200,
            body : {
                message: "Updated successfully"
            }
        };

    }catch (err) {
        console.log(err);
        return{
            statusCode: 500,
            body: err.message
        }
    }
}
Congratulations 🎉 you’re done with most of the hectic part.😉😎
Step 3️⃣: Set Up Project Specification
DigitalOcean Functions requires a YAML specification file named project.yml in the root folder of the app. The project.yml file is a manifest that lists each function in the app’s packages directory and makes the service aware of any environment variables.
Create a project.yml file in the root folder:
Paste the following code into the project.yml file:
environment:
  DB_URI: "${DB_URI}"
packages:
  - name: blogs
    actions:
      - name: createBlogs
        limits:
          timeout: 5000
          memory: 256
      - name: getBlogs
        limits:
          timeout: 5000
          memory: 256
      - name: updateBlogs
        limits:
          timeout: 5000
          memory: 256
      - name: deleteBlogs
        limits:
          timeout: 5000
          memory: 256
This project.yml file declares a package named blogs with four functions (actions) in it: createBlogs, getBlogs, updateBlogs and deleteBlogs. The environment stanza declares one environment variable in the global scope of the packages directory.
Once you’ve added the code to the file, save the file and close it.
Step 4️⃣: Deploy and Test the Functions
Once you have added the functions to their respective directories, updated their package.json files with their dependencies, and configured the project.yml file, you can deploy the functions to DigitalOcean and test them from the command line using doctl.
To deploy the functions, start by connecting to the development namespace:
doctl serverless connect
The development namespace is where you can test functions in the cloud before deploying them to App Platform.
Once connected, deploy the function by running the following command from the app’s root directory which in our case blogs-backend:
doctl sls deploy .
A successful deploy returns output that looks like this:
Deployed functions ('doctl sbx fn get <funcName> --url' for URL):
  - blogs/createBlogs
  - blogs/getBlogs
  - blogs/updateBlogs
  - blogs/deleteBlogs
Finally, you can test a function by running the functions invoke command:
doctl sls functions invoke blogs/getBlogs
To retrieve the function’s URL, use the serverless functions get command with the –url flag or you can retrieve it from Digital Ocean Function’s control panel:
doctl serverless functions get blogs/getBlogs --url
You can copy and paste the returned URL into your API testing platform to test the function execution and verify response.
Finally you’re done with succcessfully deploying and testing the functions…… Phewwww!!!!

DigitalOcean Function Specs
Function Pricing
Functions are billed per GB-second, which is calculated by multiplying the memory a function uses in GB by the time it takes to execute in seconds.
Each team has a free allowance of 90,000 GB-seconds (25 GB-hours) per month across all functions, including function components in App Platform. Additional usage beyond the free allowance is charged at $0.0000185/GB-second. Functions run for a minimum of 100ms per invocation.
Basic overview of Pricing 💰💵
- FREE ALLOWANCE : 90,000GB-seconds
- OVERAGES : $0.0000185 per GB-second
Functions components in App Platform, follow App Platform pricing, including bandwidth.
Function Configurations
- MEMORY
- 128MB - 1GB (256MB default)
- DURATION
- Up to 30 seconds per invocation
- INVOCATIONS
- Up to 600 per minute
- CONCURRENCY
- Up to 120
Conclusion
The following key takeaways are the most important conclusions from this guide:
Serverless solutions provide the important benefit of cost savings because serverless is implemented in a pay-per-use model. Serverless makes it possible to independently scale, test, and deploy individual components of your application. Serverless is uniquely suited to implement microservices architectures.
Triggers and bindings. Serverless eases integration with storage, APIs, and other cloud resources.
Microservices. The microservices architecture is becoming the preferred approach for distributed and large or complex applications. Serverless is an architecture well-suited for building these services.
Serverless challenges. Serverless introduces challenges related to distributed application development, such as fragmented and independent data models, resiliency, versioning, and service discovery. Serverless may not be ideally suited to long running processes or components that benefit from tighter coupling.
Future Scope 🔮
Webinar on more perks of DigitalOcean Functions 🔥
what is included in the webinar❓🤨
Content
- Integration of IaC with DigitalOcean AppSpec in this existing code base.
- Deploying Functions as a components in DigitalOcean App Platform.
- Seamless connection with DigitalOcean Managed Databases through AppSpec.
- Integration of unit testing.
Serverless Tech Stacks & dependencies
🌟 Frontend
- Reactjs
- Vite
- Bootstrap
🌟 Backend
- Nodejs
- DigitalOcean Functions
- MongoDB


