ChatGPT
  Perplexity
  Gemini
  Claude AI
 We all love Spotify for what it is, but what if we could make a better version? In this post, We will show you how to create a Spotify clone that not only has many of Spotify's features but also includes a lyric lookup feature for any song you want.
By the end of this project, you will have implemented the following features
1. A login with Spotify button.
2. Searchfield to find songs and artists.
3. A Spotify music player(Spotify Premium required).
4. Displaying lyrics for songs looked up.
Prerequisites
- HTML
- CSS
- Javascript + ES6
- React
- Styled components(Optional)
- Express and Node.js(basics)
Project Setup
For this app, we will be having two folders, a client and a server folder.
The client folder will contain all the react files, while the server folder will have a simple express app that will work as a server for the react app to make requests.
In the client folder, initialize the react project by running the following command
npx creat-react-app spotify-app
Once you have created your react app, install the following packages
npm i axios react-spotify-web-playback spotify-web-api-node styled-components
In the server folder, initialize the express server by running the following command
npm init --y
Once the package.json file is created, you can install the following packages
npm i express cors dotenv lyrics-finder spotify-web-api-node
Getting started
Registering your application in Spotify for developers
Before we start coding, let us first register our application with Spotify. Firstly got to the Spotify for Developers Site and navigate to the Dashboard .
Over there you will be asked to log in, you can log in using your existing Spotify account if you have one or create a new one.
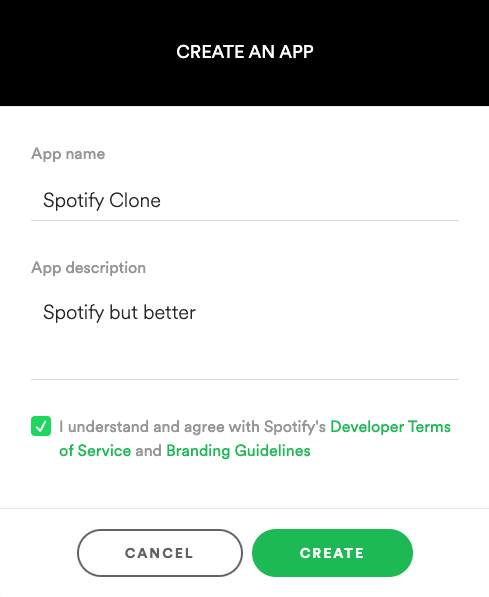
Once you are logged in, press the Create an App Button, add an app name, description, agree to the terms and conditions and press Create .
You will now be able to see your app on the Dashboard .
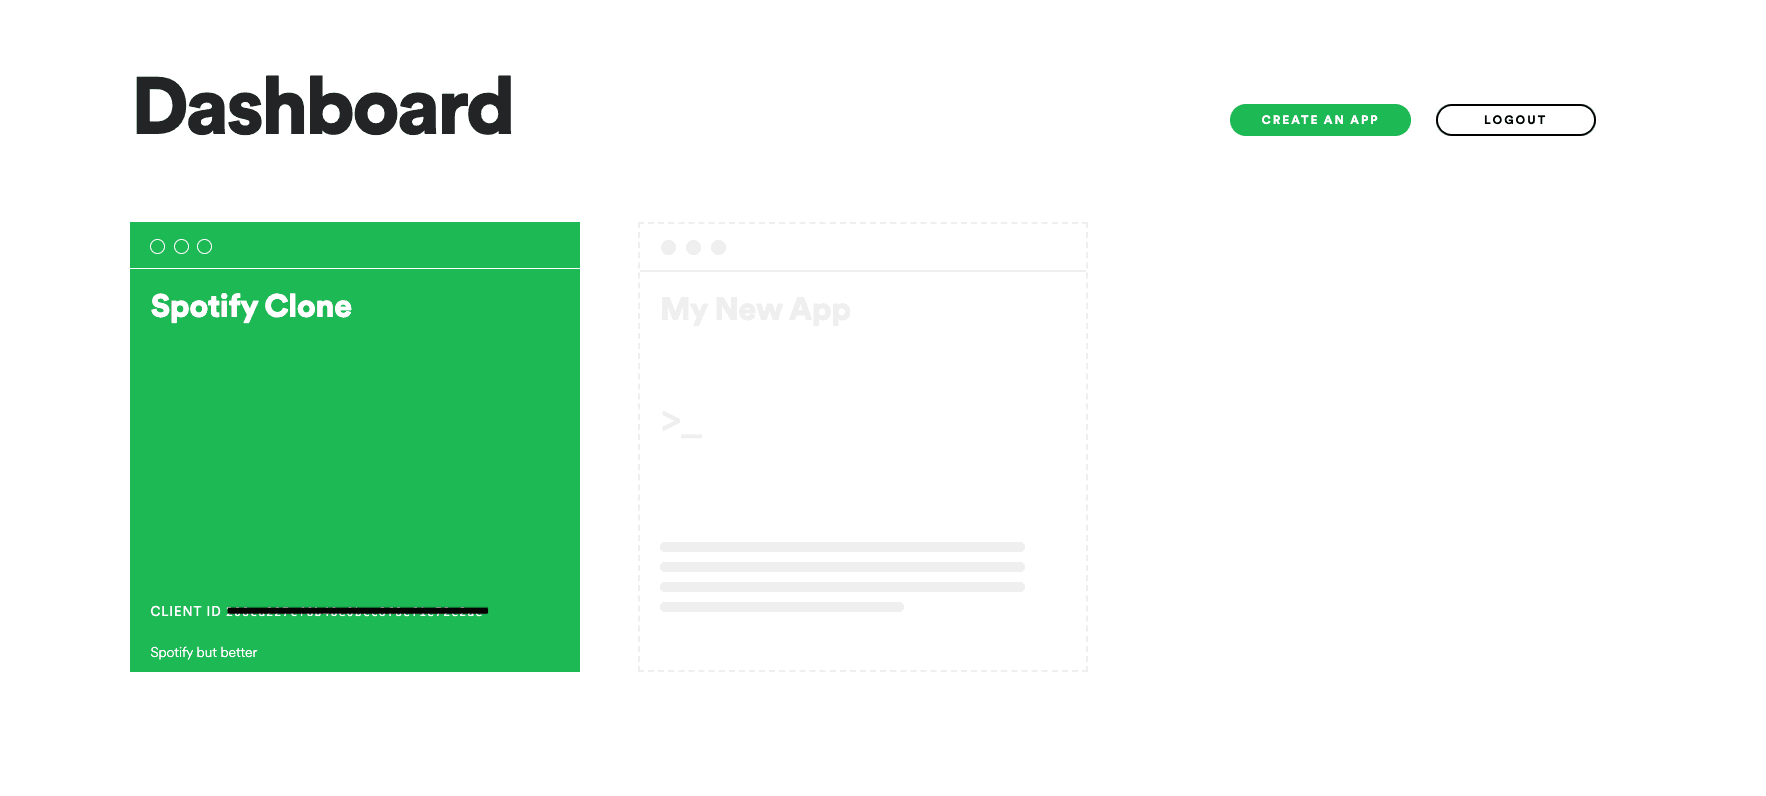
Click on your respective app to get the Client ID and the Client Secret which we will be using in our app to make requests to the Spotify API.
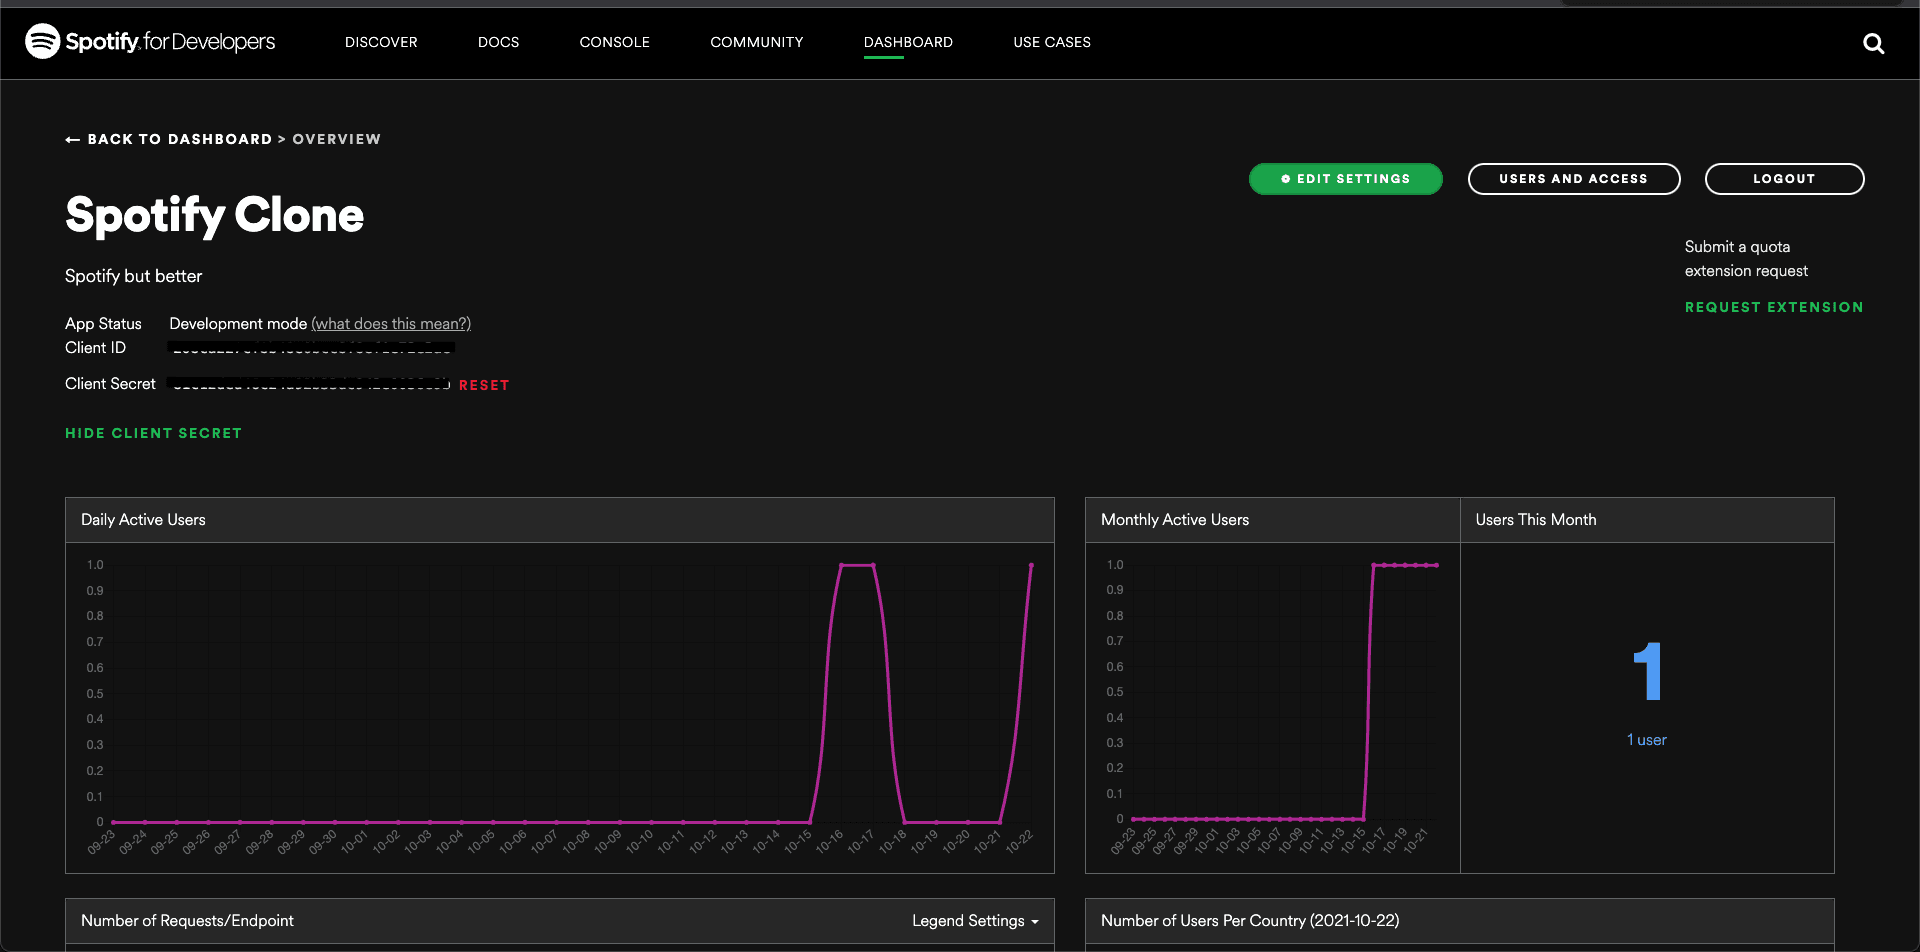
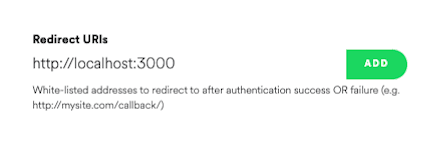
Lastly, on the overview page, click on the Edit Settings Button and add the Redirect URI which in our case will be http://localhost:3000 and click Save .
That's it for setting up our app on Spotify.
Creating the Express Server for the React application
The server we will be using will be relatively simple so let us get this out of the way before we start working on the react application.
We will require only one file which will be called index.js , but before that let us make a small change in the package.json file.
Under "main": "index.js" add the following line "type": "module" , this will allow us to export packages in the index.js file using the ES6 format.
  "main": "index.js",
  "type": "module",
Once this is done, we can create the index.js file and add the following code below
import express from "express"
import cors from "cors"
import lyricsFinder from "lyrics-finder"
import SpotifyWebApi from "spotify-web-api-node"
import dotenv from "dotenv"

const app = express()
dotenv.config()

app.use(cors())
app.use(express.json())
app.use(express.urlencoded({ extended: true }))

const PORT = 3001

app.post("/login", async (req, res) => {
  const { code } = req.body
  const spotifyApi = new SpotifyWebApi({
    redirectUri: process.env.REDIRECT_URI,
    clientId: process.env.CLIENT_ID,
    clientSecret: process.env.CLIENT_SECRET,
  })

  try {
    const {
      body: { access_token, refresh_token, expires_in },
    } = await spotifyApi.authorizationCodeGrant(code)

    res.json({ access_token, refresh_token, expires_in })
  } catch (err) {
    console.log(err)
    res.sendStatus(400)
  }
})

app.post("/refresh", async (req, res) => {
  const { refreshToken } = req.body
  const spotifyApi = new SpotifyWebApi({
    redirectUri: process.env.REDIRECT_URI,
    clientId: process.env.CLIENT_ID,
    clientSecret: process.env.CLIENT_SECRET,
    refreshToken,
  })

  try {
    const {
      body: { access_token, expires_in },
    } = await spotifyApi.refreshAccessToken()
    res.json({ access_token, expires_in })
  } catch (err) {
    console.log(err)
    res.sendStatus(400)
  }
})

app.get("/lyrics", async (req, res) => {
  const { artist, track } = req.query
  const lyrics = (await lyricsFinder(artist, track)) || "No Lyrics Found"
  res.json({ lyrics })
})

app.listen(PORT, err => {
  if (err) console.log(err)
  console.log("listening on port", PORT)
})
Let us now walk through what is going on here.
The initial code is just the setup to get express working and configuring the PORT for the server to listen to, which in our case is 3001.
The 3 routes that we are using here are login , refresh and lyrics , they are doing the following
login - This route will help us ensure the correct user is logged in from the react app and help in making any request. Here we will get the code from the front end, this will be a unique ID for every user. We then have a variable called spotifyApi which is initialized from the class SpotifyWebApi that we get from the spotify-web-api-node package, we pass in the redirectUri , clientId and clientSecret values that we got from the Spotify Developers site. We can call the spotifyApi.authorizationCodeGrant(code) function with code as the argument from which we will get the access_token , refresh_token and expires_in values that we can use in the frontend.
refresh - If you noticed in the login route, we have an expires_in value being sent to the front end. This value will persist for a limited time and once it expires, the user is logged out. So the refresh route helps us maintain the user session and fetches a new expires_in value. This works similar to the login route except we get a refreshToken from the front end and in the spotifyApi class we also pass the refreshToken along with the previous values. We then call the spotifyApi.refreshAccessToken() function from which we will get the access_token and expires_in values that we can use in the frontend.
lyrics - This route makes use of the lyrics-finder package which will allow us to fetch the lyrics for the song we select in the front end. We get the artist and the track name from the front end which then is passed to the function lyricsFinder that we get from the lyrics-finder package. The value we get from this can then be returned to the front end.
Note: You may have noticed that we are using environment variables for values we get from the Spotify Developers site, this is a safer way to store sensitive data. This is why we are using the dotenv package.
You can do the same by creating a .env file like the following
REDIRECT_URI=http://localhost:3000
CLIENT_ID="Add your Client ID here"
CLIENT_SECRET="Add your Client Secret Here"
That's it for the server, you can now start your server by running node index.js or nodemon index.js if you have the nodemon package installed as a global dependency.
Creating the React application
Now we can finally move on to the React application.
With regards to styling we will be using a package called styled-components which allows us to use component-level styles in a React application(Read more about it here). You could follow along with using styled-components too or use any other method of styling you are comfortable with.
You can check out this blog, You Can Style Better if you would like to get helpful tips on styling.
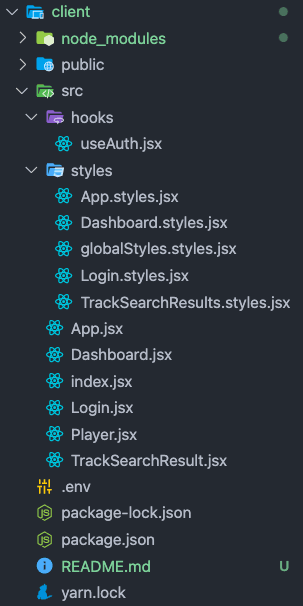
You can delete the files not required and follow the structure below
Let us now go through all the components used
Index file
The index.jsx file
import React from "react"
import ReactDOM from "react-dom"
import App from "./App"
import GlobalStyles from "./styles/globalStyles.styles"

ReactDOM.render(
  <>
    <GlobalStyles />
    <App />
  </>,
  document.getElementById("root")
)
The GlobalStyles.styles.jsx file
import { createGlobalStyle } from "styled-components"

const GlobalStyles = createGlobalStyle`
html,
body {
  padding: 0;
  margin: 0;
  font-family: -apple-system, BlinkMacSystemFont, Segoe UI, Roboto, Oxygen,
    Ubuntu, Cantarell, Fira Sans, Droid Sans, Helvetica Neue, sans-serif;
}

a {
  color: inherit;
  text-decoration: none;
}

* {
  box-sizing: border-box;
}
`

export default GlobalStyles
Here it is pretty much the same as it is by default except a <GlobalStyles /> component has been added which adds global CSS styles via styled-components
App Component
The App.jsx file
import React from "react"

import Dashboard from "./Dashboard"
import Login from "./Login"

import { Container } from "./styles/App.styles"

const App = () => {
  const code = new URLSearchParams(window.location.search).get("code")

  return <Container>{code ? <Dashboard code={code} /> : <Login />}</Container>
}

export default App
The App.styles.jsx file
import styled from "styled-components"

export const Container = styled.div`
  min-height: 100vh;
  display: flex;
  flex-direction: column;
  align-items: center;
  justify-content: center;
  background-color: #191414;
`
What we are doing here is conditionally rendering either the Login or Dashboard component based on the code value which we will fetch from the URL parameters, we will understand the code value better in the Login component.
Login Component
The Login.jsx file
import React from "react"

import { LoginButton, LoginLink } from "./styles/Login.styles"

const Login = () => {
  const AUTH_URL = `https://accounts.spotify.com/authorize?client_id=${process.env.REACT_APP_CLIENT_ID}&response_type=code&redirect_uri=${process.env.REACT_APP_REDIRECT_URI}&scope=streaming%20user-read-email%20user-read-private%20user-library-read%20user-library-modify%20user-read-playback-state%20user-modify-playback-state`

  return (
    <LoginButton>
      <LoginLink href={AUTH_URL}>Login with Spotify</LoginLink>
    </LoginButton>
  )
}

export default Login
The Login.styles.jsx file
import styled from "styled-components"

export const LoginButton = styled.button`
  background-color: #1db954;
  padding: 1rem;
  border: none;
  border-radius: 8px;
`

export const LoginLink = styled.a`
  color: #ffff;
  font-size: 1.5rem;
  font-weight: bold;
  text-decoration: none;
`
In the Login component, we have a href tag wrapped by a button, on click of the href tag we are redirected to the Log In to the Spotify page. From this page, we get the code params which will be used to get the access_token .
The href tag that we use has the following
https://accounts.spotify.com/authorize?client_id=${process.env.REACT_APP_CLIENT_ID}&response_type=code&redirect_uri=${process.env.REACT_APP_REDIRECT_URI}&scope=streaming%20user-read-email%20user-read-private%20user-library-read%20user-library-modify%20user-read-playback-state%20user-modify-playback-state
https://accounts.spotify.com/authorize is the URL where we need to authenticate using Spotify. All Spotify Authentication requests must be passed through this URL.
The client_id is the Client ID provided to you by the Spotify Web API and you need to mention it here.
The response_type will be set to code , this means that on success of login, we will be returned a code value which is an authorization code that can be exchanged for an access_token .
The redirect_uri is the one which we gave in the Spotify Web API settings, this states where to take back the user if the Spotify login was successful.
The scopes are permissions that you need to ask Spotify for. More such permissions are available on Spotify API Documentation.
Before we talk about the Dashboard component, let us go through the smaller components that are used for it.
Player Component
The Player.jsx file
import React, { useState, useEffect } from "react"

import SpotifyPlayer from "react-spotify-web-playback"

const Player = ({ accessToken, trackUri }) => {
  const [play, setPlay] = useState(false)

  useEffect(() => {
    setPlay(true)
  }, [trackUri])

  if (!accessToken) return null
  return (
    <SpotifyPlayer
      token={accessToken}
      showSaveIcon
      callback={state => !state.isPlaying && setPlay(false)}
      play={play}
      uris={trackUri ? trackUri : []}
      styles={{
        activeColor: "#fff",
        bgColor: "#333",
        color: "#fff",
        loaderColor: "#fff",
        sliderColor: "#1cb954",
        trackArtistColor: "#ccc",
        trackNameColor: "#fff",
        height: "55px",
      }}
    />
  )
}

export default Player
We have the Player component which will allow us to play the music we select. We make use of the SpotifyPlayer component from the react-spotify-web-playback package which renders the music player.
This component takes accessToken and trackUri as prop values.
We make use of a useEffect hook to set our state value play to true if trackUri is present, this allows the music player to automatically play the song we select.
TrackSearchResults Component
The TrackSearchResults.jsx file
import React from "react"

import {
  ResultContainer,
  ResultImage,
  SongContainer,
  TitleText,
  ArtistText,
} from "./styles/TrackSearchResults.styles"

const TrackSearchResult = ({ track, chooseTrack }) => {
  function handlePlay() {
    chooseTrack(track)
  }

  return (
    <ResultContainer onClick={handlePlay}>
      <ResultImage src={track.albumUrl} />
      <SongContainer>
        <TitleText>{track.title}</TitleText>
        <ArtistText>{track.artist}</ArtistText>
      </SongContainer>
    </ResultContainer>
  )
}

export default TrackSearchResult
The TrackSearchResults.styles.jsx file
import styled from "styled-components"

export const ResultContainer = styled.div`
  display: flex;
  align-items: center;
  margin: 2rem;
  cursor: pointer;
`

export const ResultImage = styled.img`
  height: 64px;
  width: 64px;
`

export const SongContainer = styled.div`
  margin-left: 3rem;
`

export const TitleText = styled.p`
  color: #fff;
`

export const ArtistText = styled.p`
  color: #f5f5f5;
`
The TrackSearchResult component will render all songs/playlists searched from the Dashboard component.
This is will take two props which are track and chooseTrack , track will provide all the details such as track album image, track title and artist name which we can display and chooseTrack is a callback function that helps the Dashboard component know what song to play.
UseAuth Hook
The useAuth.jsx file
import { useState, useEffect } from "react"
import axios from "axios"

const useAuth = code => {
  const [accessToken, setAccessToken] = useState()
  const [refreshToken, setRefreshToken] = useState()
  const [expiresIn, setExpiresIn] = useState()

  useEffect(() => {
    ;(async () => {
      try {
        const {
          data: { access_token, refresh_token, expires_in },
        } = await axios.post(`${process.env.REACT_APP_BASE_URL}/login`, {
          code,
        })
        setAccessToken(access_token)
        setRefreshToken(refresh_token)
        setExpiresIn(expires_in)
        window.history.pushState({}, null, "/")
      } catch {
        window.location = "/"
      }
    })()
  }, [code])

  useEffect(() => {
    if (!refreshToken || !expiresIn) return
    const interval = setInterval(async () => {
      try {
        const {
          data: { access_token, expires_in },
        } = await axios.post(`${process.env.REACT_APP_BASE_URL}/refresh`, {
          refreshToken,
        })
        setAccessToken(access_token)
        setExpiresIn(expires_in)
      } catch {
        window.location = "/"
      }
    }, (expiresIn - 60) * 1000)

    return () => clearInterval(interval)
  }, [refreshToken, expiresIn])

  return accessToken
}

export default useAuth
Lastly, before we get started with the Dashboard component, let us go through the custom hook called useAuth which will handle the authentication.
In this hook, we are maintaining 3 states, which are the accessToken , refreshToken , expiresIn values
We have 2 useEffect hooks being used, they are explained below.
The first one is used to make an API call to the login route, we will send the code value as the request body and on success of this route, we will receive the access_token , refresh_token and expires_in values which we can assign to our respective state values. We can then clear the parameter values which would contain the code parameter as it would be unsafe to let this persist.
The second one is used to make an API call to the refresh route, This call is required because once the expiresIn value expires, our accessToken is invalid so we can use our refreshToken to fetch a new accessToken and expiresIn value. We pass the refreshToken as the body here and on success of this route, we will receive the access_token and expires_in values which we can assign to our respective state values.
This hook will return the accessToken which will be used by the Spotify web player and for fetching artists and songs.
Dashboard Component
The Dashboard.jsx file
import React, { useState, useEffect } from "react"

import useAuth from "./hooks/useAuth"
import Player from "./Player"
import TrackSearchResult from "./TrackSearchResult"
import SpotifyWebApi from "spotify-web-api-node"
import axios from "axios"
import {
  DashBoardContainer,
  SearchInput,
  ResultsContainer,
  LyricsContainer,
  PlayerContainer,
} from "./styles/Dashboard.styles"

const spotifyApi = new SpotifyWebApi({
  clientId: process.env.REACT_APP_CLIENT_ID,
})

const Dashboard = ({ code }) => {
  const accessToken = useAuth(code)
  const [search, setSearch] = useState("")
  const [searchResults, setSearchResults] = useState([])
  const [playingTrack, setPlayingTrack] = useState()
  const [lyrics, setLyrics] = useState("")

  function chooseTrack(track) {
    setPlayingTrack(track)
    setSearch("")
    setLyrics("")
  }

  useEffect(() => {
    if (!playingTrack) return
    ;(async () => {
      const {
        data: { lyrics },
      } = await axios.get(`${process.env.REACT_APP_BASE_URL}/lyrics`, {
        params: {
          track: playingTrack.title,
          artist: playingTrack.artist,
        },
      })
      setLyrics(lyrics)
    })()
  }, [playingTrack])

  useEffect(() => {
    if (!accessToken) return
    spotifyApi.setAccessToken(accessToken)
  }, [accessToken])

  useEffect(() => {
    if (!search) return setSearchResults([])
    if (!accessToken) return

    let cancel = false
    ;(async () => {
      const { body } = await spotifyApi.searchTracks(search)
      if (cancel) return
      setSearchResults(
        body.tracks.items.map(track => {
          const smallestAlbumImage = track.album.images.reduce(
            (smallest, image) => {
              if (image.height < smallest.height) return image
              return smallest
            },
            track.album.images[0]
          )

          return {
            artist: track.artists[0].name,
            title: track.name,
            uri: track.uri,
            albumUrl: smallestAlbumImage.url,
          }
        })
      )
    })()

    return () => (cancel = true)
  }, [search, accessToken])

  return (
    <DashBoardContainer>
      <SearchInput
        type="search"
        placeholder="Search Songs/Artists"
        value={search}
        onChange={e => setSearch(e.target.value)}
      />
      <ResultsContainer>
        {searchResults.map(track => (
          <TrackSearchResult
            track={track}
            key={track.uri}
            chooseTrack={chooseTrack}
          />
        ))}
        {searchResults.length === 0 && (
          <LyricsContainer>{lyrics}</LyricsContainer>
        )}
      </ResultsContainer>
      <PlayerContainer>
        <Player accessToken={accessToken} trackUri={playingTrack?.uri} />
      </PlayerContainer>
    </DashBoardContainer>
  )
}

export default Dashboard
The Dashboard.styles.jsx file
import styled from "styled-components"

export const DashBoardContainer = styled.div`
  padding: 2rem;
  min-height: 100vh;
  width: 100%;
`

export const SearchInput = styled.input`
  width: 100%;
  height: 55px;
  padding: 10px;
  border-radius: 5px;
  font-size: 1.5rem;

  &::placeholder {
    font-size: 1.5rem;
  }
`

export const ResultsContainer = styled.div`
  flex-grow: 1;
  margin: 3rem 0;
  overflow-y: auto;
  overflow-x: auto;
`

export const LyricsContainer = styled.div`
  height: 65vh;
  text-align: center;
  color: #fff;
  white-space: pre;
`

export const PlayerContainer = styled.div`
  width: 100%;
  position: fixed;
  bottom: 0;
  left: 0;
`
Now we can move on to the final component.
The Dashboard component maintains the following state values
The accessToken value will be returned from the useAuth hook where we pass the code as the argument. This value will be used by the Spotify web player and when fetching the artists/tracks.
The search state will maintain the value we type in when searching for a song/artist.
The searchResults state will contain an array of values of the artists/songs that we fetch on search.
The playingTrack state will contain the value of the song that we selected, so we can accordingly play it and fetch its lyrics.
The lyrics state will contain the lyrics of the song we selected, so it can be displayed.
There is a variable called spotifyApi which is initialized from the SpotifyWebApi class where we pass in our clientId. This class is from the spotify-web-api-node and this is required so we can use its respective functions to fetch artists/songs.
We have 3 useEffect hooks which are being used which are as follows
The first hook is triggered based on any changes in the playingTrack state, if this state has a value, the API call for fetching lyrics will be made using this state as its body. The value returned from this API call will be set to the lyrics state.
The second hook is triggered if there are any changes in the acccessToken state, This is to ensure that we have the correct accessToken value. if we do, we can set the access token for spotifyApi variable by doing this spotifyApi.setAccessToken(accessToken) .
The third hook is triggered if there are any changes in the accessToken or search state. If both of them are truthy values we can trigger the async function called spotifyApi.searchTracks(search) which is from the spotify-web-api-node package, this function will use the search state as an argument and fetch all the respective artists and songs based on this value. The response from this function will be an array that can be iterated on and its values can be set to the searchResultsState .
The components that are rendered are as follows
An input component is used for searching for artists/songs. This will help us set the search value.
The TrackSearchResults component will display the values from the searchResults state. It also triggers a function to set the playingTrack state based on the song clicked.
A container to display the lyrics when a song is selected.
The Player component will display the Spotify web music player. It takes the accessToken and the uri value of the playingTrack state as props.
Note: Similar to our server, we can also use environment variables in our react app. The only difference is that we should ensure that we add REACT_APP_ before our env properties
You can do the same by creating a .env file in the root of our client folder.
REACT_APP_CLIENT_ID="Add your Client ID here"
REACT_APP_REDIRECT_URI=http://localhost:3000
REACT_APP_BASE_URL=http://localhost:3001
That's it for all the components in our React app, We have finished all that is required for this app!
We can now start our react project by running npm start in the terminal
Note: You may notice if we reload our app, we are redirected to log in again, This is because we are not persisting our access token.
We could do so by setting it in the local storage but that is not a good practice as it is unsafe to store tokens here.
We could instead use an oAuth mechanism , store it in our cookies , use a context management system or something along these lines.
However, the main purpose of this post is to display a Spotify clone with a responsive design so we will leave it as it is for now.
Here is a small preview of the application

You can find the complete source code here