ChatGPT
  Perplexity
  Gemini
  Claude AI
 Deploying a serverless application on AWS Lambda with API Gateway integration using Terraform is a streamlined and efficient way to build scalable, cost-effective, and easily maintainable web services. In this tutorial, we will walk you through the process of setting up and deploying your serverless application infrastructure on AWS using Terraform, empowering you to leverage the power of serverless computing for your projects.
We will complete this tutorial in 2-simple steps: Setting up the Terraform. Deploying AWS Serverless Lambda.
Setting up the Terraform:
1. Installing Terraform:
We will first need to install terraform in our local machine. We are not going to deep dive in installing terraform, You can simply follow these steps to install.
2. Initializing the configuration:
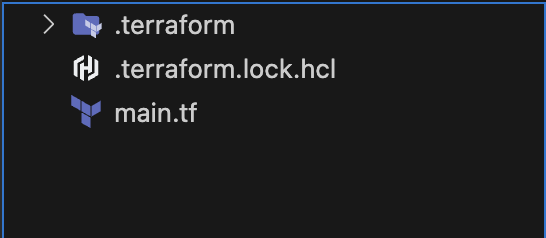
You need to create a main.tf file on the root of the project directory.

In which we will provide all the basic configuration for terraform to initialize our AWS project.
Open the terminal, and terraform init on the current directory. And, we have completed our first step in setting up the terraform
NOTE: here, I was using ap-south-1 (Mumbai) region, you can change to your desired region.
Deploying AWS Serverless Lambda: Our next step is to deploy AWS Lambda. We will deploy it as module in terraform. Current directory structure looks like this:
Let’s add our lambda folder, with src folder in it, as well as main.tf for lambda.

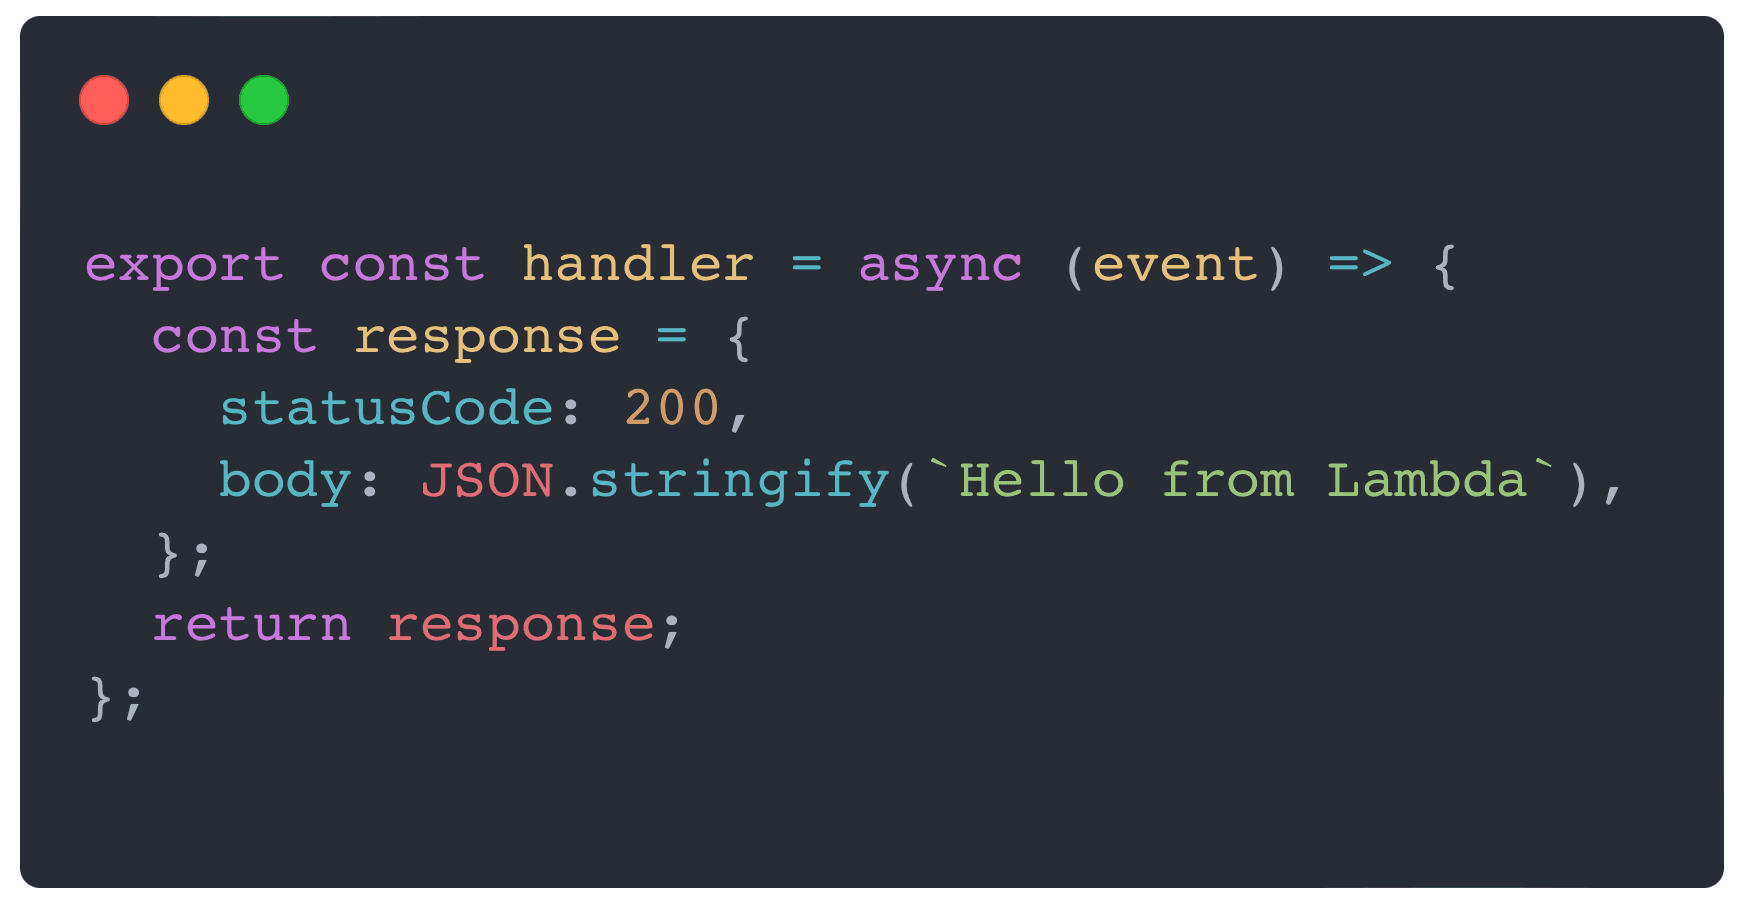
I have already created an index.mjs file, where all the logic goes, as of now I am just returning with simple 200 statusCode and a body.
Now, let’s move to lambda/main.tf and attach the sts:AssumeRole policy for our lambda to access AWS resource from AWS account. Below, as you can see is the policy document, we need to add this policy document under a IAM Role.

We have also attached the service role policy, that gives the lambda a basic execution role.

To upload, our index.mjs file to lambda we have different options like: filename , image_uri , s3_bucket. Here, we will use filename and we can’t directly just upload by passing the path of the file. We first need to compress the file and make a zip of it.
We have achieved this by using the archive_file functionality from terraform itself. We just need to give the type of archival file and pass on the source_file and output path.
Next, we need to define our lambda in terraform. We will use the resource configuration aws_lambda_function, there is only one thing that is important to know when using archive_file, we need to pass source_code_hash under lambda resource which will update the hash whenever there is new code present in index.mjs file. So, that our lambda know that there is a new code.
Now, to invoke function we will use lambda-url, we will use the resource configuration aws_lambda_function_url. As for this tutorial we are going to use NONE as authorization_type but it would be best practice to use authorisation in lambda when using it for live testing or production deployment.
We also need cloudwatch logs for our lambda. We will use aws_cloudwatch_log_groups resource configuration.

Now, let’s create lambda/output.tf file to get lambdaARN, lambda function name and lambdaURL as output.

And lastly,
Before we deploy our lambda, let’s mention this module in our main terraform file.
And create root output.tf file for the main.tf file as well on current directory.


In the output.tf file we will mention all the outputs from the lambda module.

Let’s first install the module. Using terraform init -upgrade which will install the module and provider versions allowed within configured constraints, overriding the default behavior of selecting exactly the version recorded in the dependency lockfile.
Once you ran, this command you will see the terraform lock file in the current directory, named as .terraform.hcl.lock .
Now, before we deploy we will first check that whatever we wrote in terraform template files are ok to deploy or not. To check that we will run terraform plan, which show all the changes made in the current configuration version.
If everything seems good let’s finally deploy it. Let’s copy our command line short term access code from our aws console and paste them in terminal, it will give us the access to our aws account through terminal. As we are deploying using terminal we need thoes access in our terminal.
Now, let’s just run terraform apply and if everything seems good then let’s write yes to deploy the terraform configuration. It will hardly takes 10 secs to deploy.
After the deployment you will get to see the output in the terminal itself:

Just a final step to test this function url, you can try it on web browser or curl command in terminal.

You can access the full code repo from this github repo.