ChatGPT
  Perplexity
  Gemini
  Claude AI
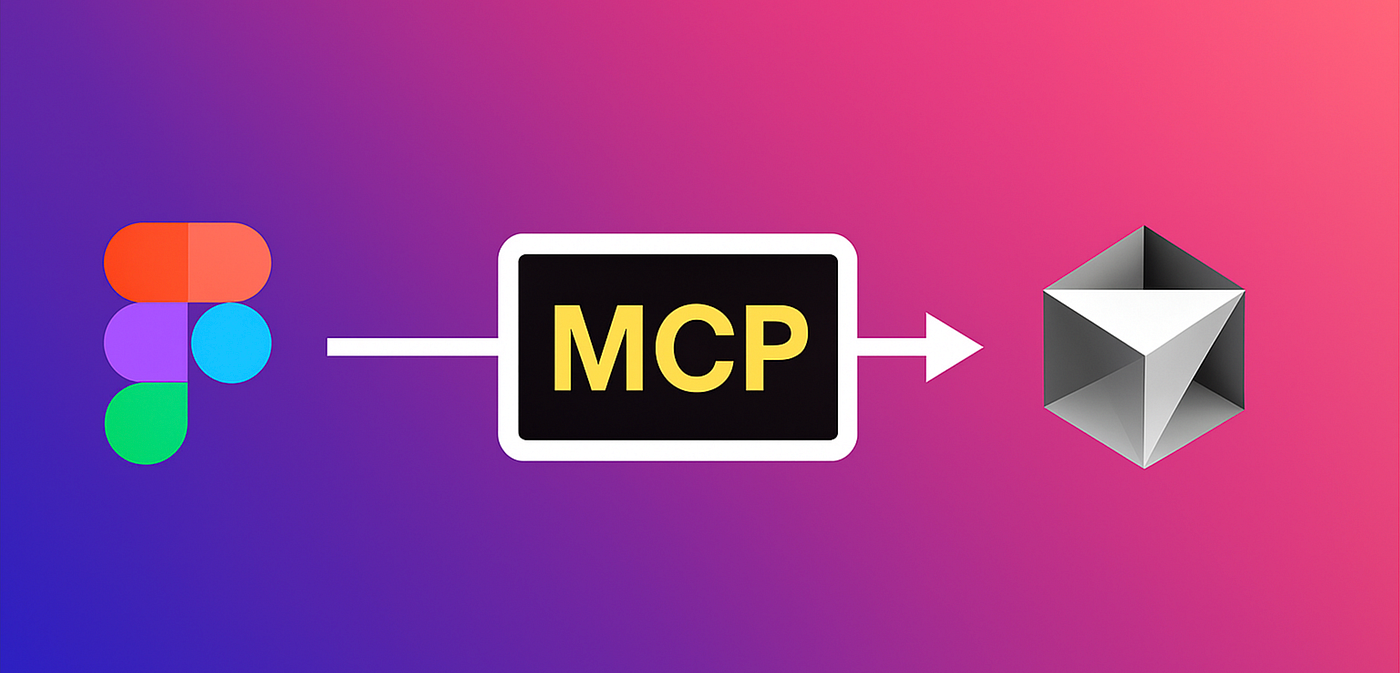
If you’ve ever shipped frontend code straight from a Figma design, you already know the pain of endless screenshotting, copy-pasting hex codes, guessing spacing, and even debating whether a button is 44px tall or 46px. And when it comes to HTML email templates? Forget it—one missing <table> tag and suddenly Outlook renders your design like a Picasso painting. What if instead of all that, your IDE could actually see your design, understand the variables, and stop making you guess? That’s exactly what Figma MCP Server + Cursor brings to the table.
So… What Is MCP (Model Context Protocol)?
In plain English, think of MCP as the USB-C of AI tools. Just like USB-C gives your devices a universal way to connect and share power/data, MCP gives AI-powered apps a universal way to connect to your tools and actually “see” what’s inside them.
Without MCP, your AI is basically working blindfolded, it only has the text and context you feed it and has to guess at everything else. With MCP, apps like Cursor can directly plug into Figma and pull the real design data, not just screenshots or vague descriptions.
That means your AI can grab things like:
Layouts → frame structure, hierarchy, alignment.
Colors → exact hex values, gradients, and brand palettes.
Spacing → consistent padding, margins, and pixel measurements.
Images → references to assets straight from the design.
Links → clickable references to design components.
Basically, all the juicy details developers usually have to hunt down manually—now delivered straight into your IDE. Instead of guessing whether a button is 44px or 46px tall, your AI assistant can read it directly from Figma’s MCP server and generate code with actual precision.
Why Figma’s MCP Server + Cursor Feels Like a Cheat Code
Here’s the magic: when Cursor is hooked into Figma’s MCP server, your IDE isn’t just generating code from vibes — it’s generating code from the actual design data. That means no more pixel-guessing, cleaner first drafts, faster review cycles, and even pulling images straight from the design itself. And when it comes to HTML email templates, where every single pixel and <td> matters, the accuracy you get is honestly kind of wild.
Before You Start (Don’t Skip These Prereqs)
To use this setup, you need:
- Figma Desktop App (with Dev Mode MCP enabled).
- A Dev or Full seat on Pro, Org, or Enterprise plans.
- An editor that supports MCP servers (Cursor, VS Code, Windsurf, Claude Code).
Step 1: Enable MCP in Figma Desktop
- Open the Figma menu (top-left).
- Go to Preferences → Enable Dev Mode MCP Server
- You’ll see a confirmation message at the bottom.
The server now runs locally at: http://127.0.0.1:3845/mcp Keep that URL handy for the next step.

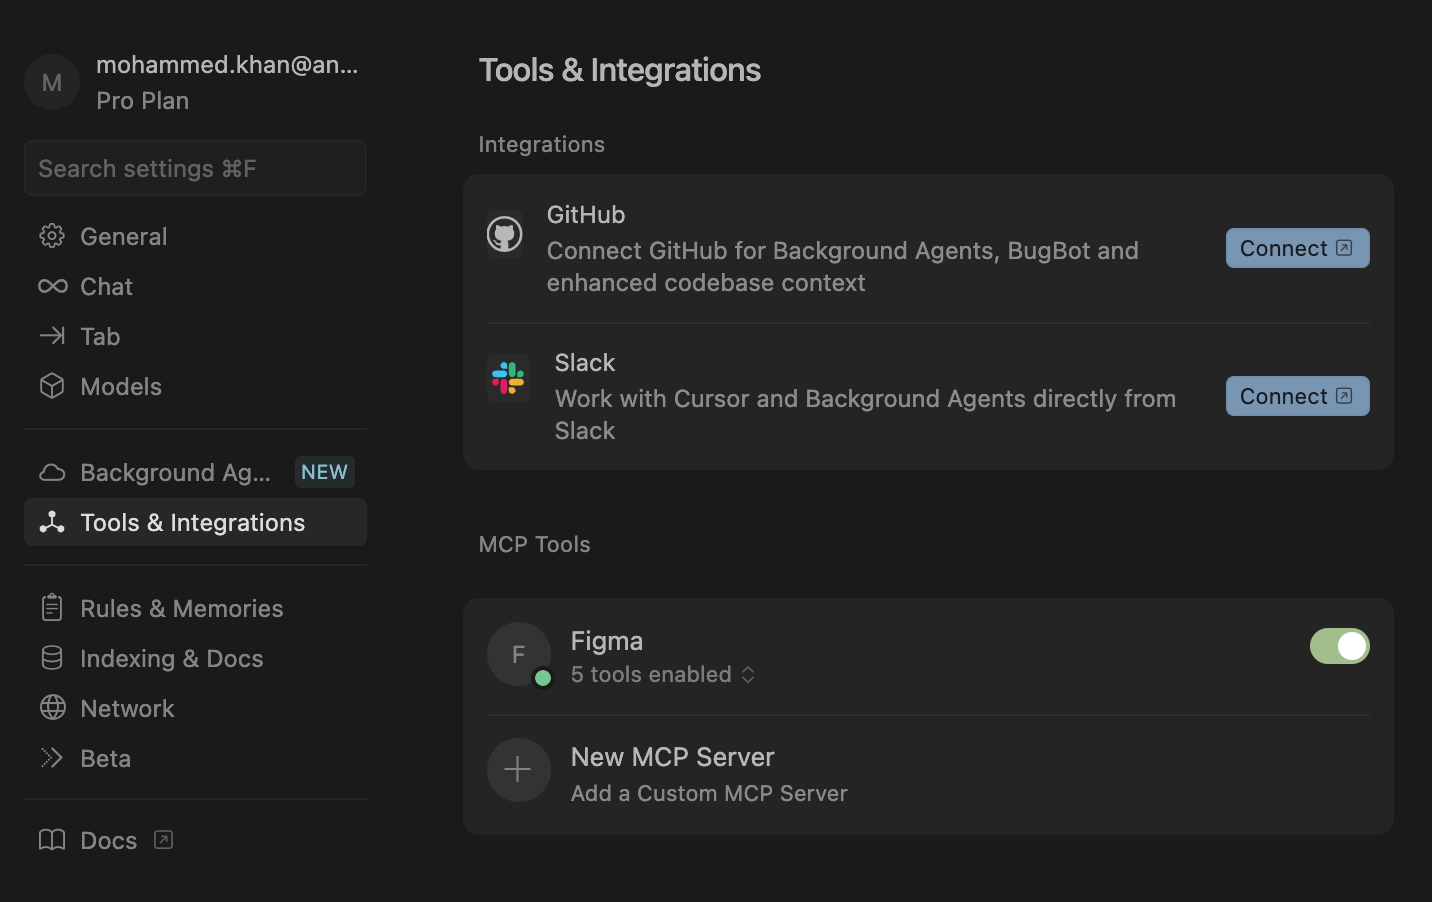
Step 2: Connect Figma MCP to Cursor
- Open Cursor → Settings → Cursor Settings.
- Go to the MCP tab.
- Click + Add Custom MCP server.
- Add this config in mcp.json:
{ "mcpServers": { "Figma": { "url": "http://127.0.0.1:3845/mcp" } } }
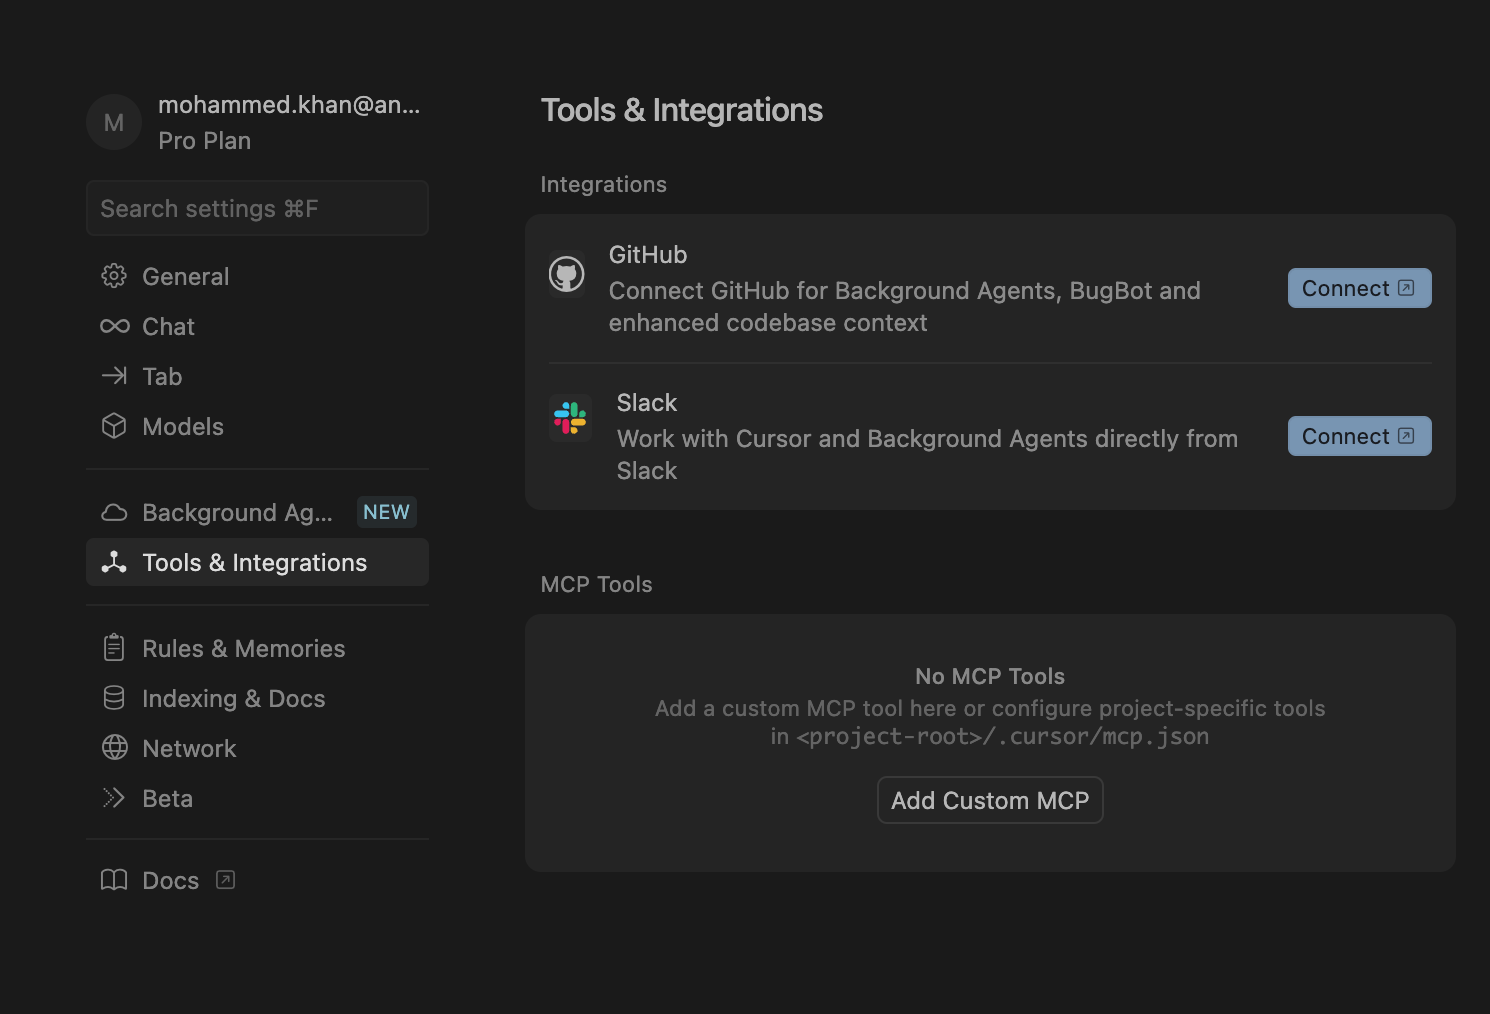
Hit save. Cursor now has Figma plugged in.
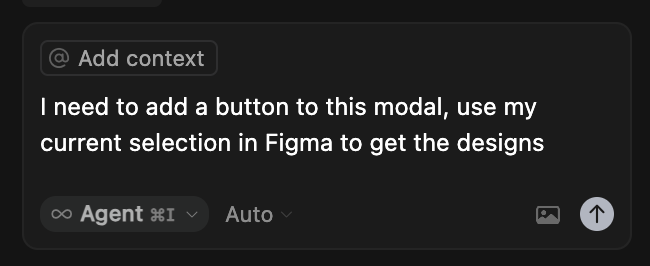
Step 3: Pass Context to Cursor (Two Ways)
Now you can feed design context into Cursor:
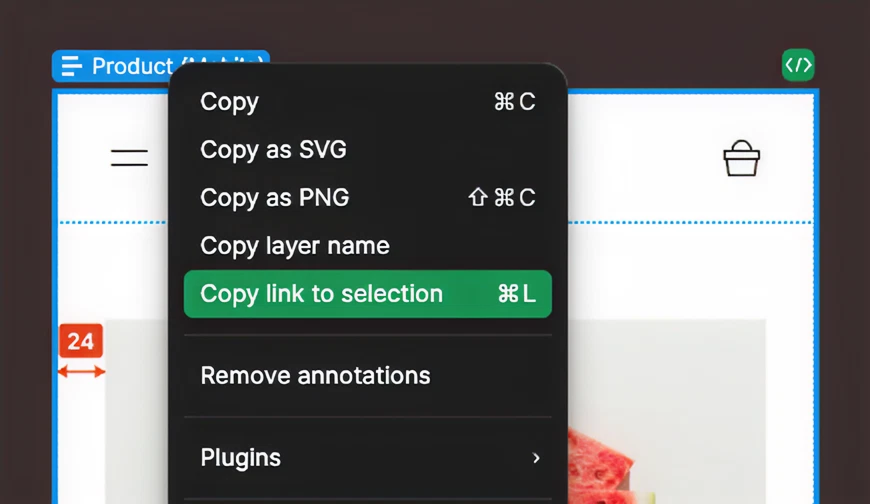
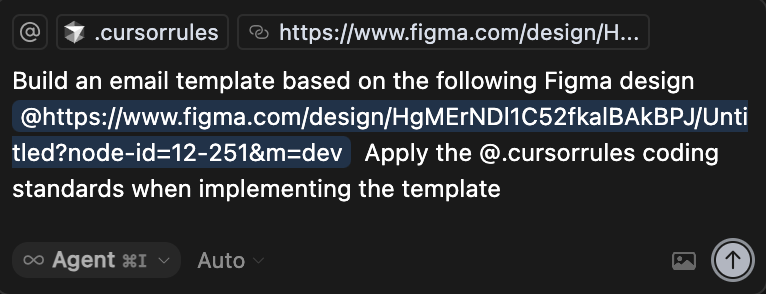
- Selection-based: pick a frame/layer in Figma → prompt Cursor to implement your current selection.
- Link-based: copy a frame/layer link → paste into Cursor. (It won’t open the URL, but it’ll extract the
node-idand fetch details via MCP.)
__Niche Use-Case: Building HTML Email Templates With React email__
Anyone who’s built an email knows how painful it can be tables everywhere, inline CSS headaches, and endless trial-and-error to make sure it looks half-decent in Gmail and Outlook . But if you’re using React Email (or similar modern frameworks), the game changes and with Figma MCP + Cursor and .cursorrules , it gets even better.
Cursor can see your email frame inside Figma. All you have to do is tell it: “Generate this as a React Email template.” It’ll pull in the layout, spacing, images, and styles directly from your design and spit out a draft that’s dangerously close to production-ready. Instead of starting from scratch, you get a clean React component structure, ready to tweak and ship.
Supercharging Cursor with a .cursorrules File
This is where you get to play boss. A .cursorrules file tells Cursor the house rules for your project.
Example for emails:
Email template rules (HTML/CSS)
Do NOT use flexbox; use tables/columns for layout.
Max template width: 600px.
Use inline CSS where necessary for client compatibility.
Use our fixed header/footer components (see /partials).
Buttons: height 44px, border-radius 6px, brand color #0B5FFF.
Typography: h1 28px/36px, h2 22px/30px, p 16px/24px.
Image hosting: upload to /assets/email/, reference absolute URLs.
The more you refine it over time, the better Cursor gets at matching your team’s style.
This prompt will generate an email template from the attached design reference, while sticking to all the rules you’ve laid out in the .cursorrules file.
But… Human Review Still Wins
MCP + Cursor can get you 80–90% there. But before you ship, always check:
- Spacing and typography.
- Email client tests (Gmail, Outlook, Apple Mail, mobile).
- Dark mode support.
- Tracking links/UTMs.