


The Hidden Cost of Status Quo: Why Healthcare CTOs Can't Afford to Delay Modernization
What is Mirth Connect
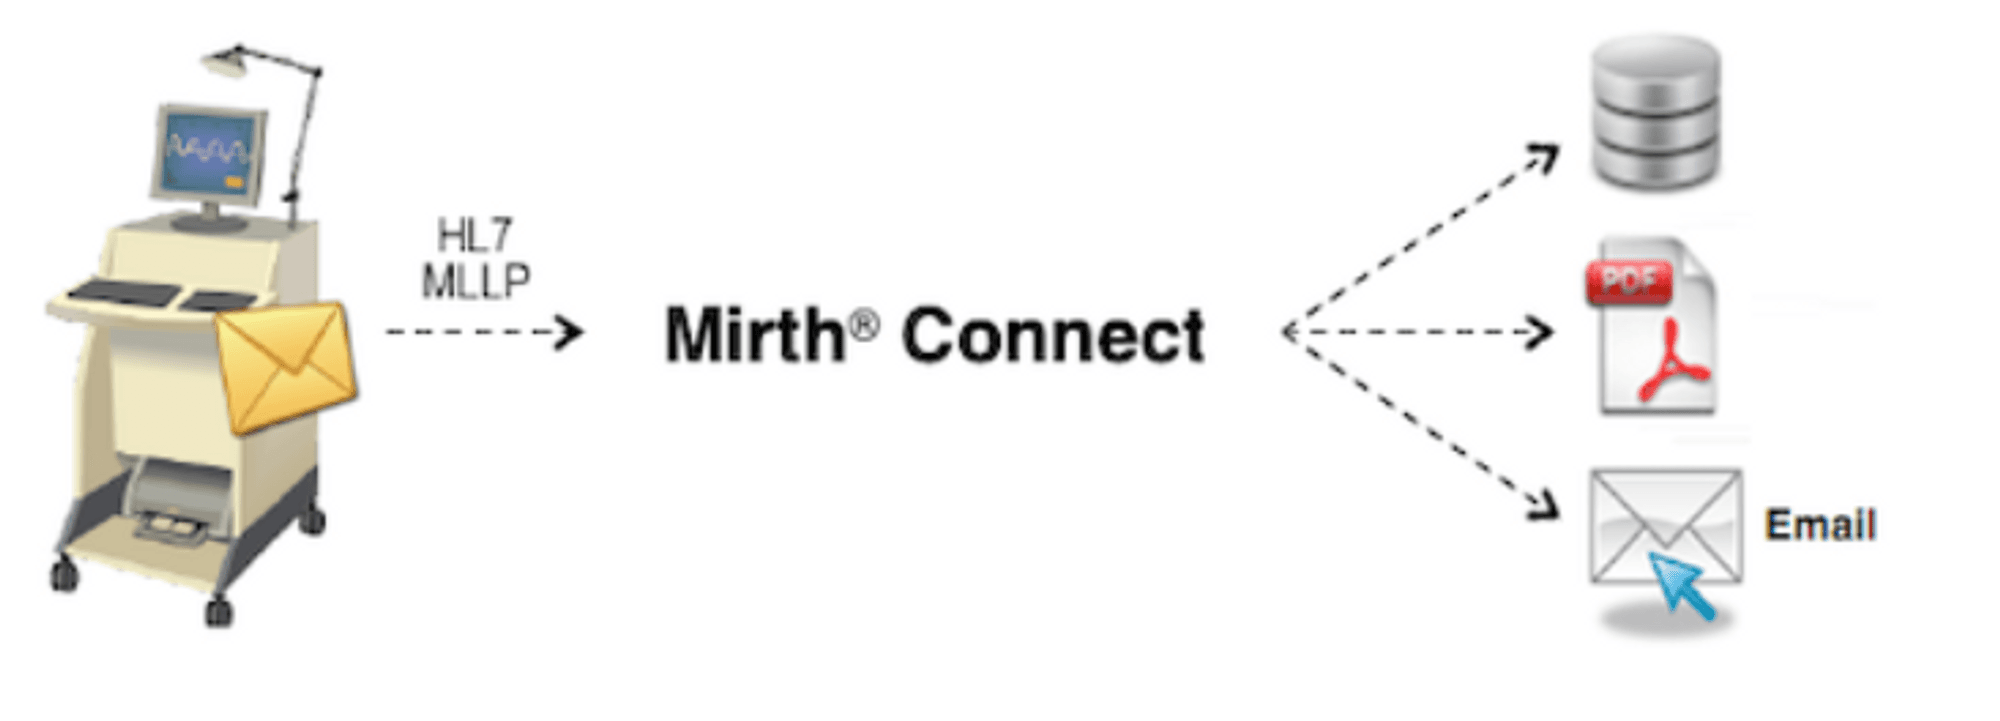
Mirth Connect is like an interpreter that translates messages in one format into another that your system understands. In simple, Mirth Connect acts as a middleware to connect health information systems for the exchange of clinical and administrative data. Some of the capabilities of mirth connect are as follows.
- Filtering: Based on the logic mirth connects filters the message i.e forward some of them to the next step and the rest will be filtered out.
- Transformation: It then converts the incoming message standard to another standard such as HL7 to JSON.
- Routing: It then routes the message to the multiple destinations you have defined.
Channels and Connectors
Channels are interfaces that we configure based on the user case which will handle the jobs like receiving data from a source, filtering, transforming the data, storing data in the database, and sending the data out to the external system.
Example - Creating a channel to read file from AWS S3, process it and send mail once the processing is completed.
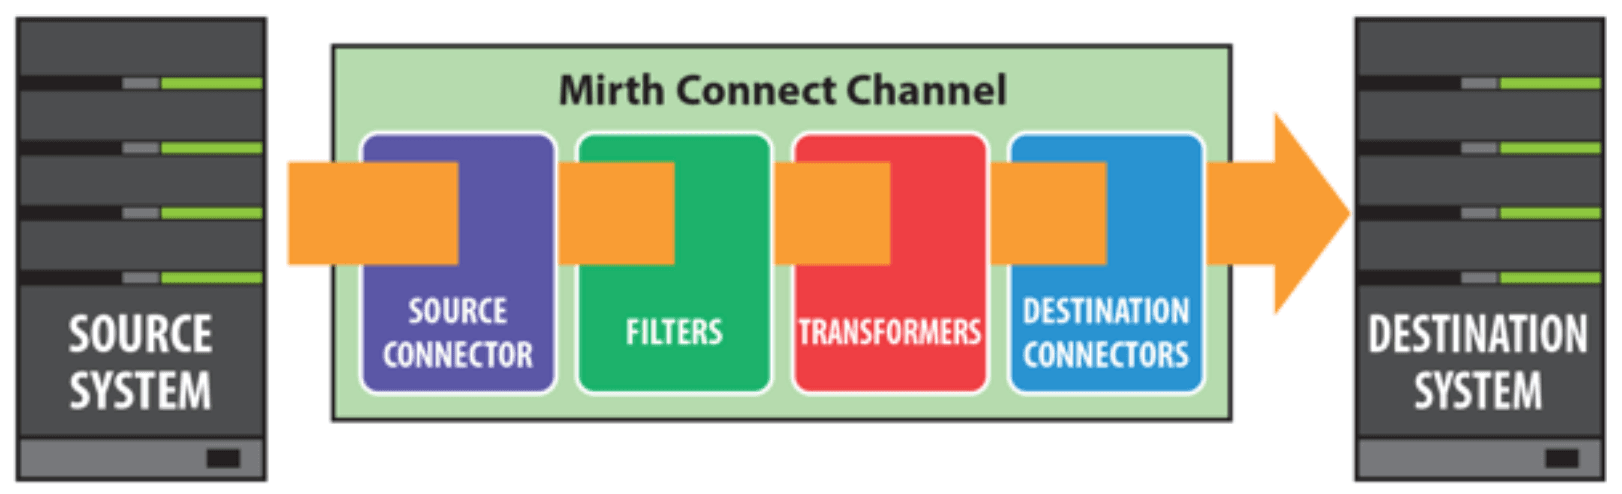
A connector is a piece of a channel that does the job of getting or receiving data (a source connector) or sending data out to an external system (a destination connector). Every channel has exactly one source connector and at least one destination connector. Every destination will have its own filter and transformer.
In this blog we will create a channel that reads a json file from AWS S3 which contains patient data that will be used to create HL7 ORM_O01 messages and at the end the channel will send the mail to the user.
Before starting with the channel below are the prereqisites.
- Mirth Connect
- AWS IAM User’s credentials (AccessKey and SecretKey) with S3 crud policy.
- Mail Credentails (Username and Password).
Now, Let’s start
Store the credentials in Configuration Map.
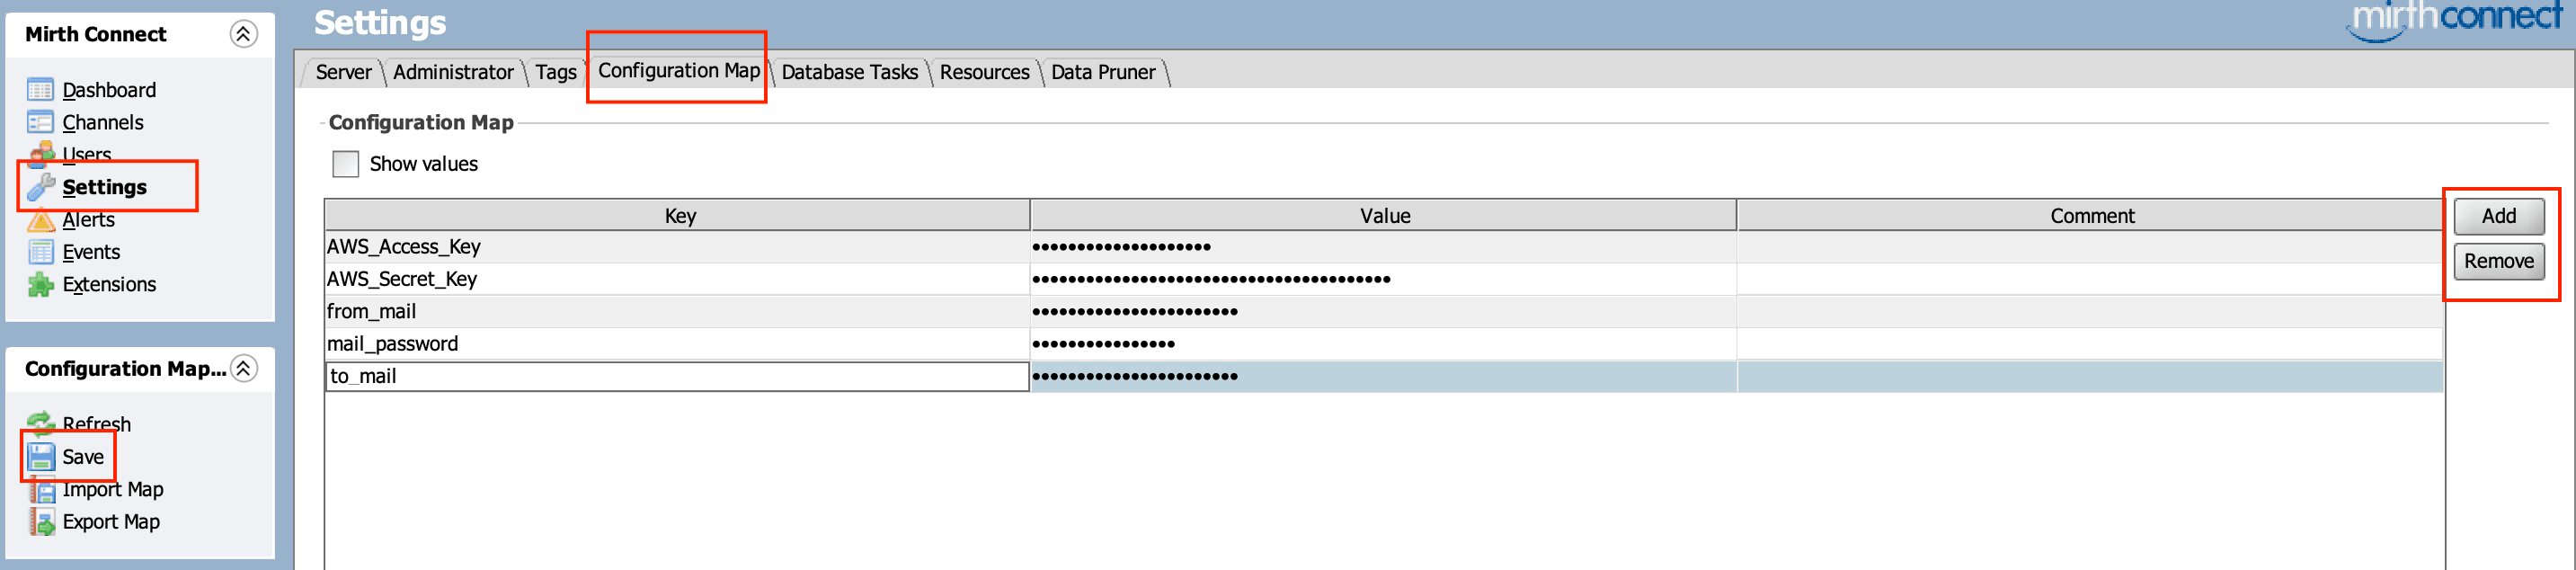
Add the credentials in the configuration map that will be used later in the channel. The Configuartion Map is useful for global, static settings that you want to persist across restart of Mirth Connect.
Mirth Connect Administrator → Settings → Configuration Map
Add the key and values and save them.
- Channel Creation
Channels → New Channel
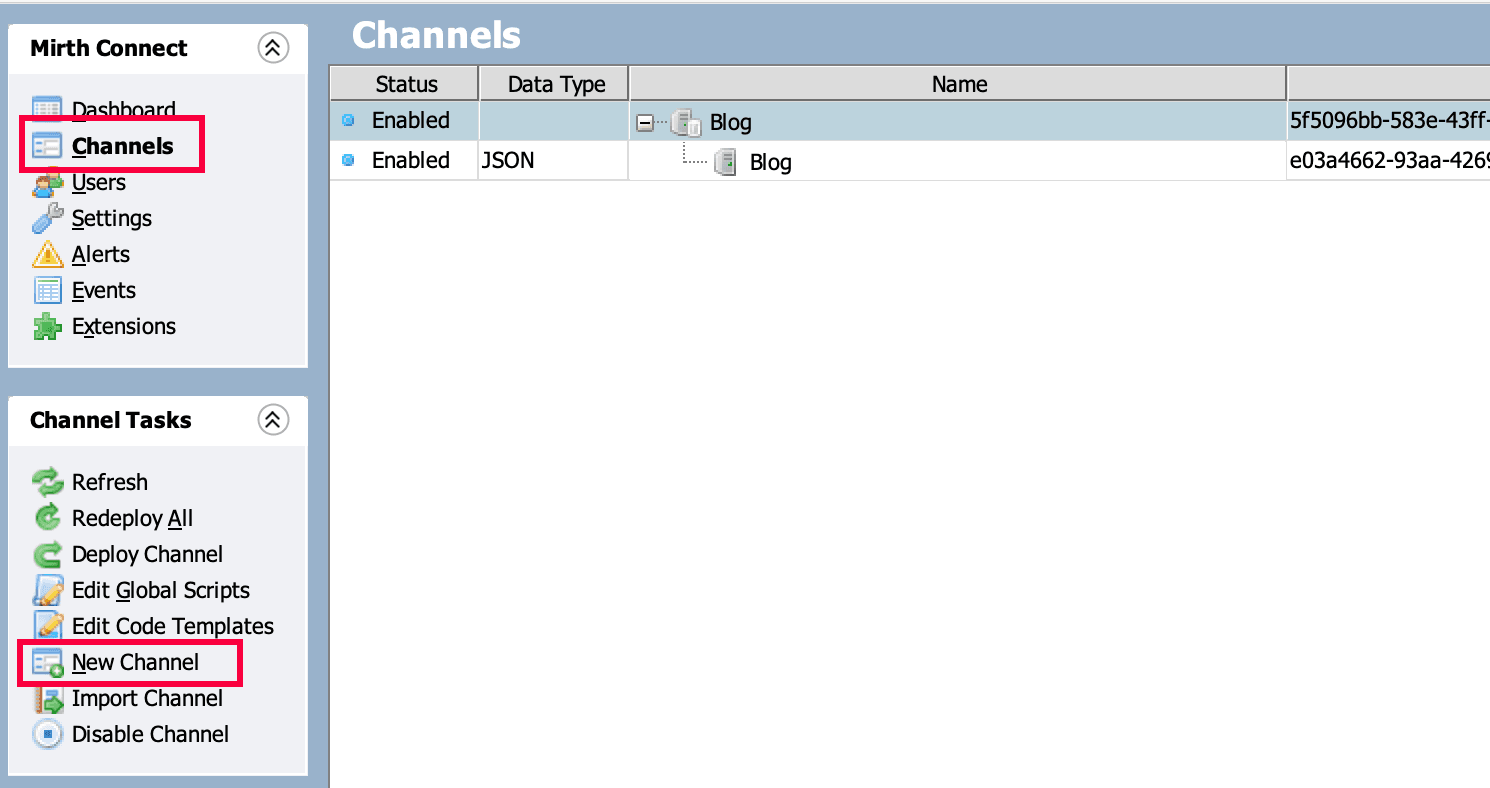
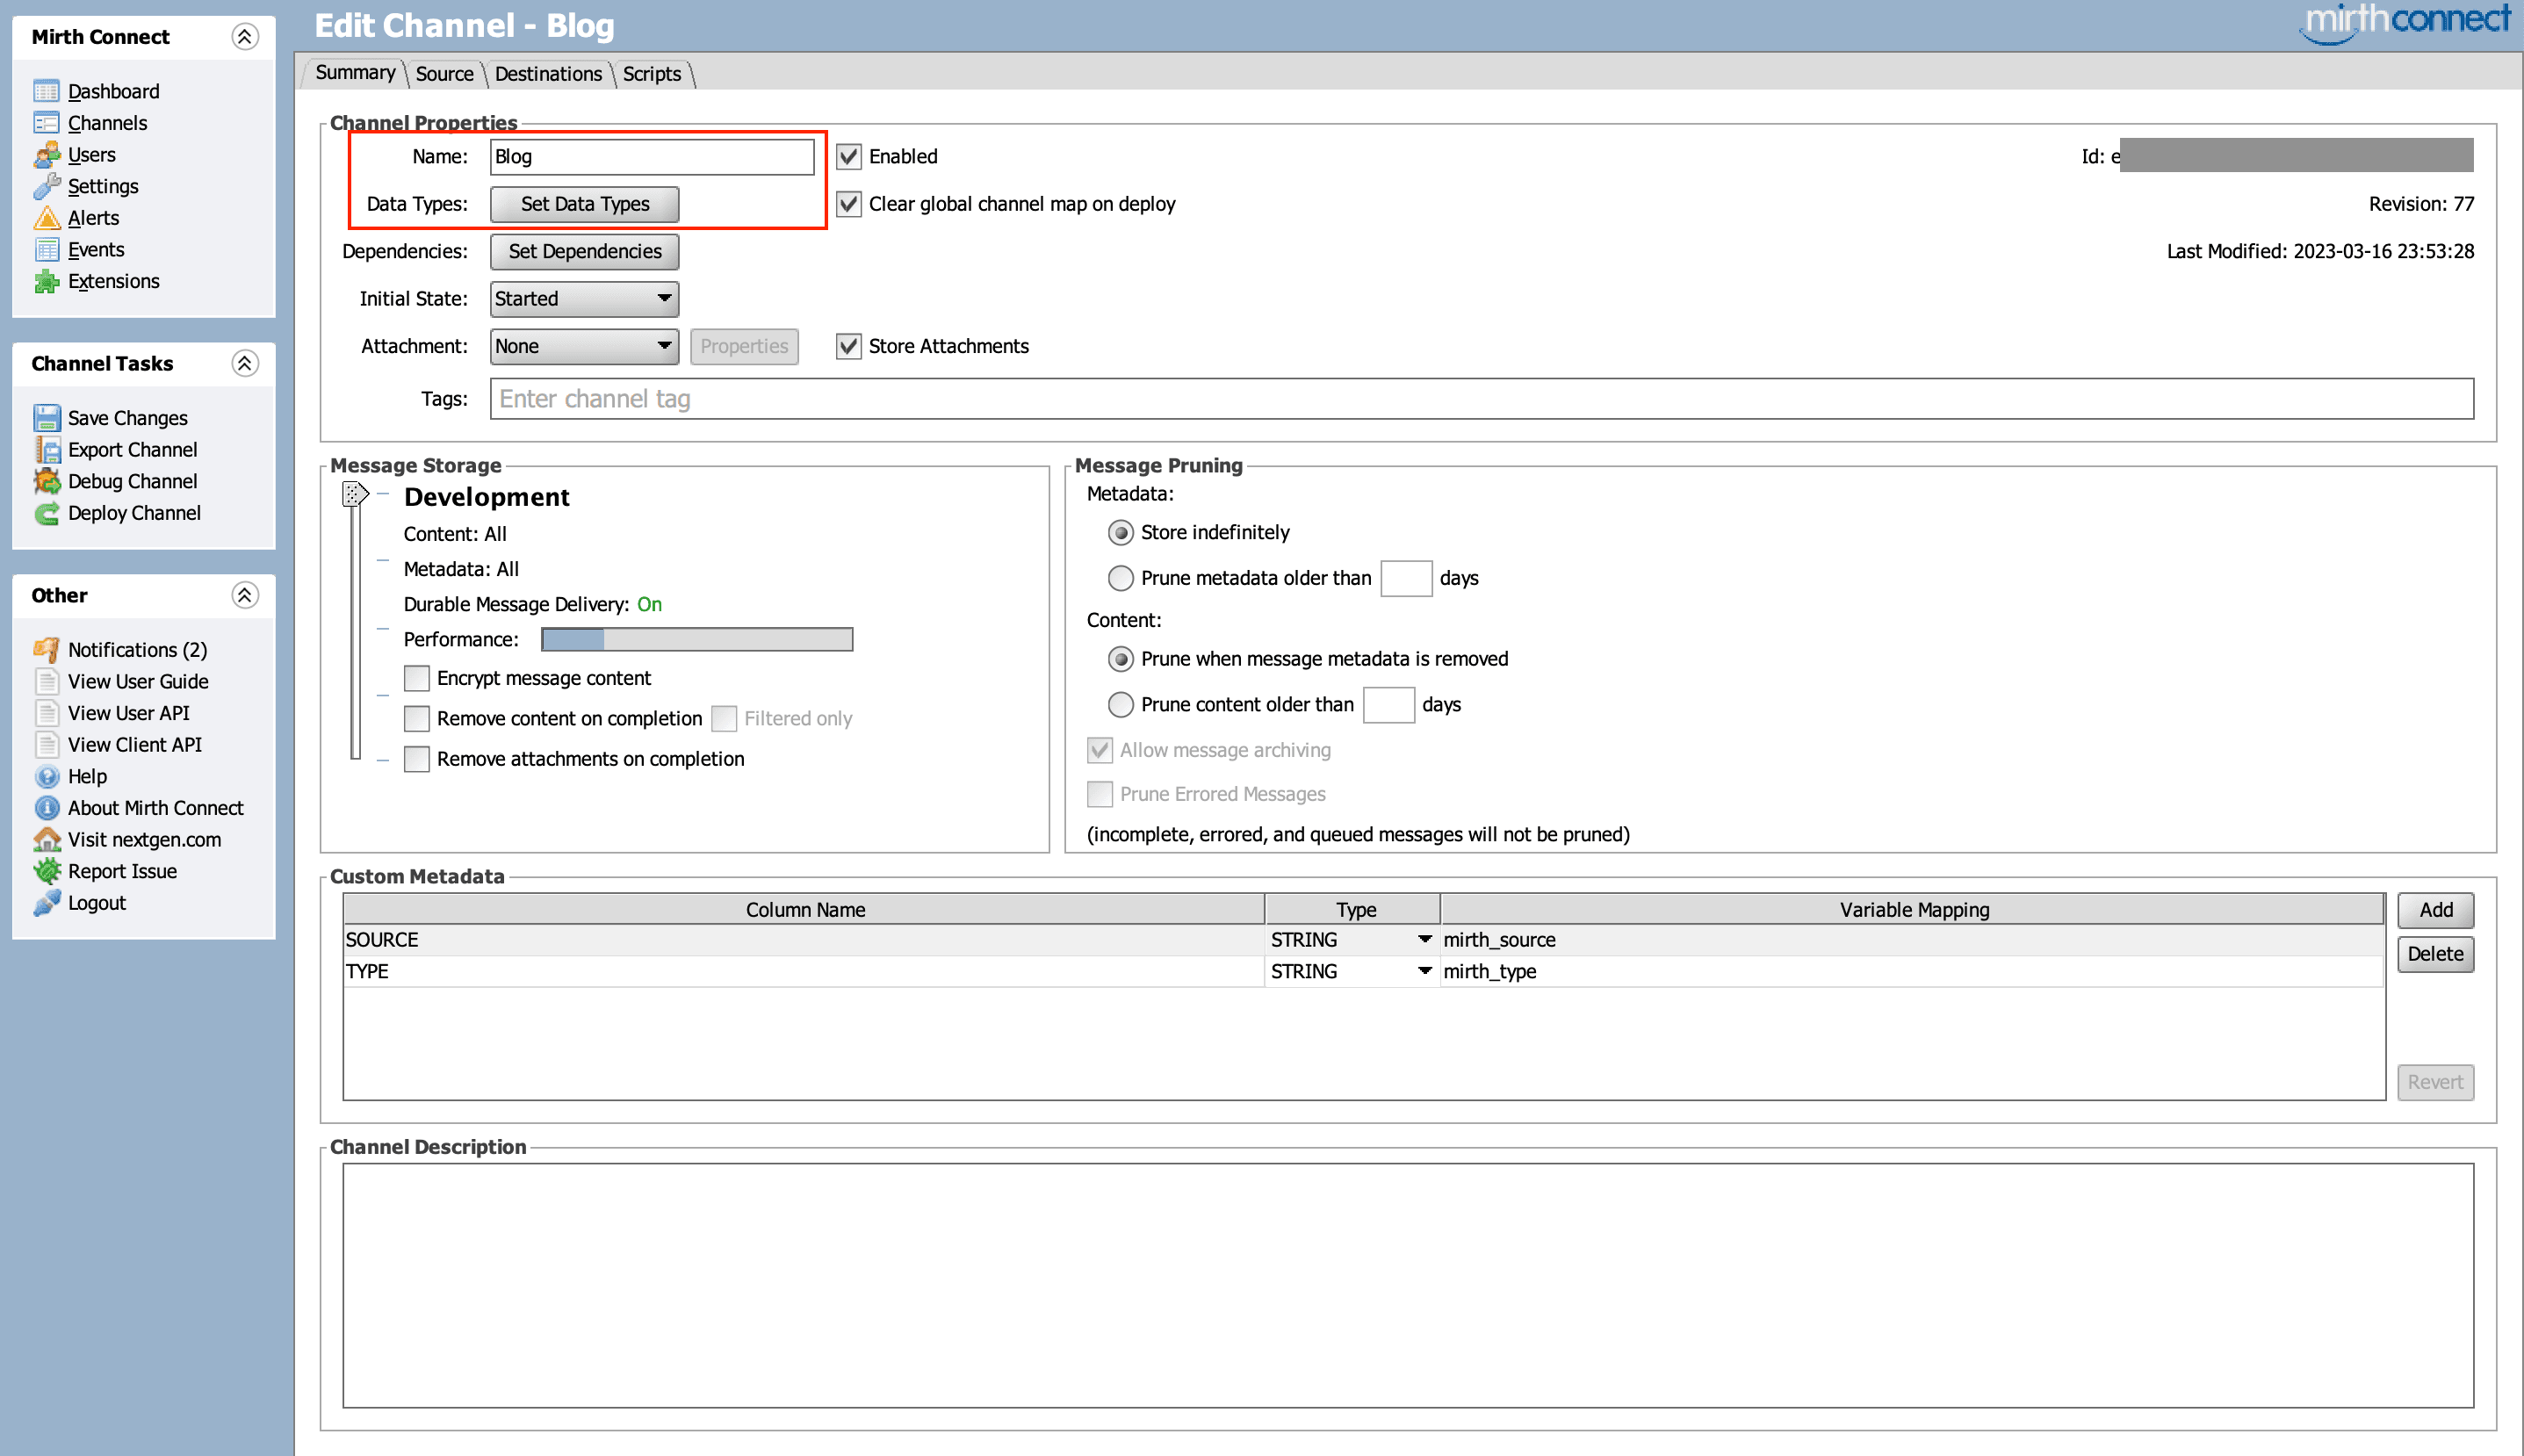
Select New Channel option for creating the channel. Add the name for the channel and select the data types as json.
Source Connector
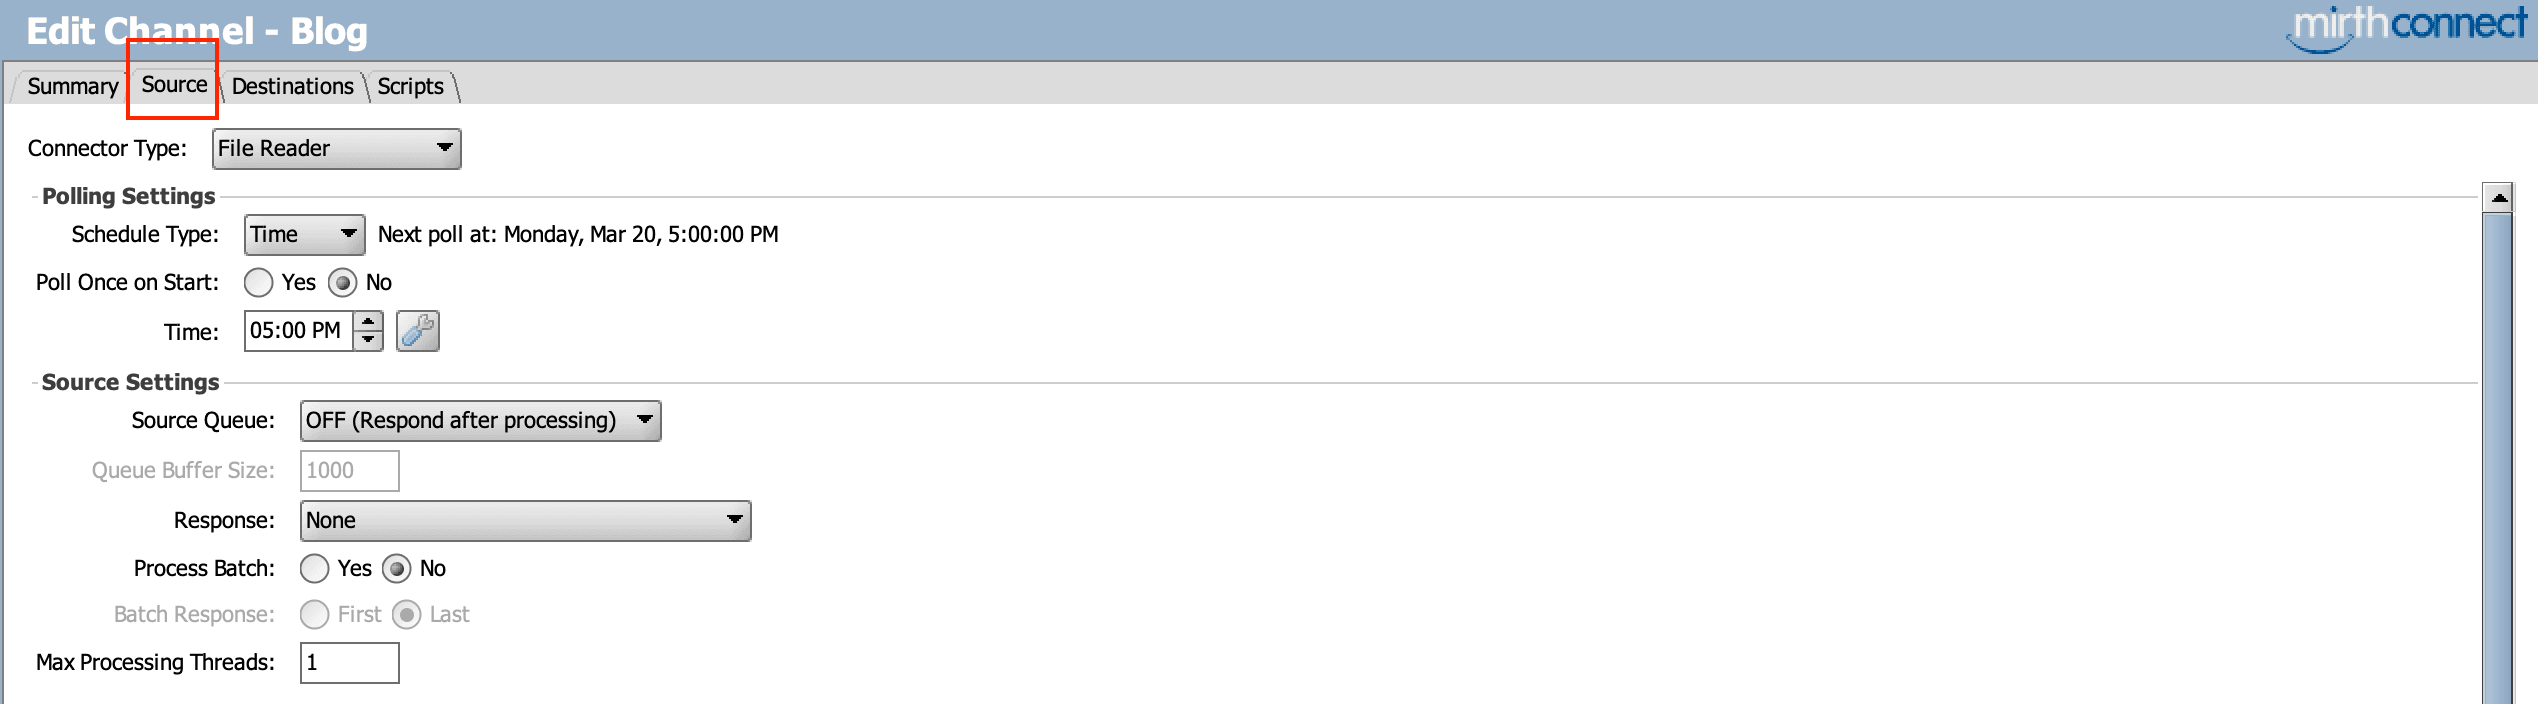
The next section is the source connector(receiving end). For reading file from AWS S3 we are using file reader as the connector type and schedule type is time which means at the selected time the channel will try to read the file from S3 everyday.
File Settings
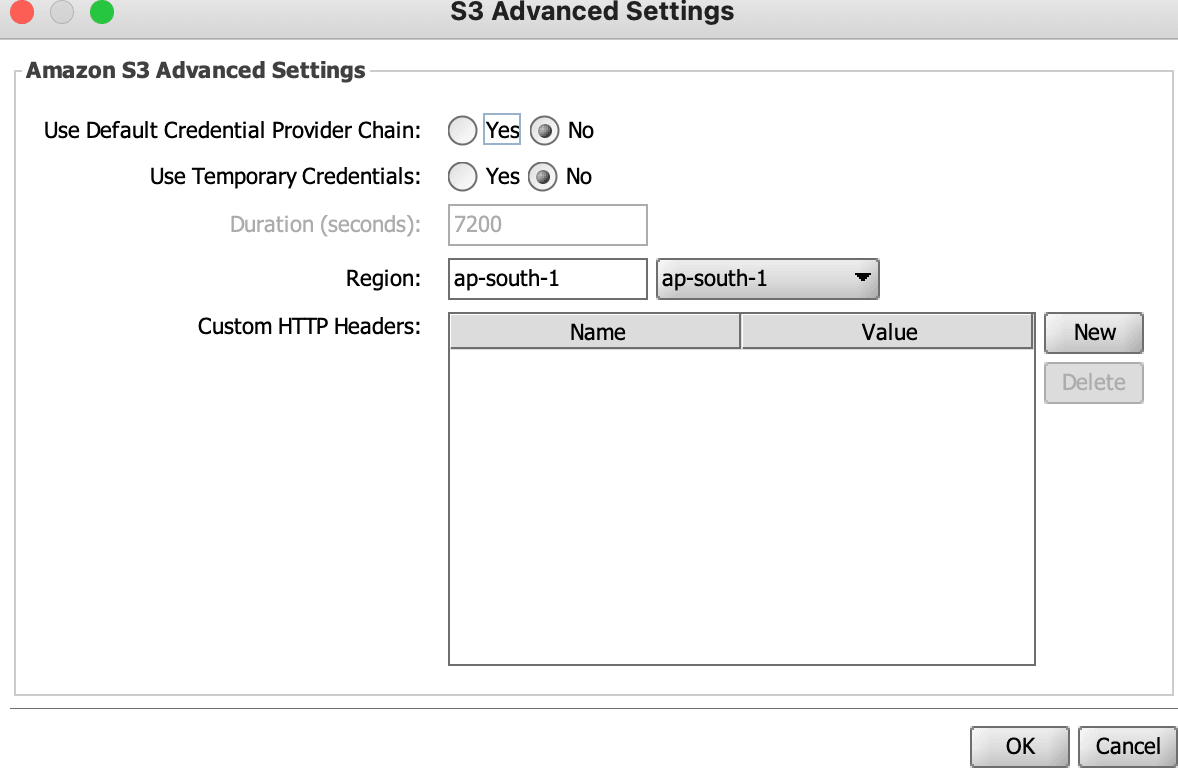
Method is Amazon S3 , In the Advance option, updated the region to where your S3 bucket is located in.
The Default Credential Provide Chain if enabled and you have not provided explicit credentials then it will look for the credentials according to the below chain.
Environment Variables (AWS_ACCESS_KEY_ID and AWS_SECRET_ACCESS_KEY)
- Java System Properties (aws.accessKeyId and aws.secretKey)
- Default credential profile files (Typically located ~/.aws/credentials)
For this example we have not enabled both the options(Default and Temporary Credential).
Update the bucket and folder name according to the file location and add filter pattern criteria to discard other files.
Enable Anonymous If you want to connects to the remote server anonymously instead of using a username and password. In our case it is disables as we want to use AWS accessKey and secretKey(Explicit Credentials).
Mirth Connect allows dynamic variables to be injected into property fields using Apache Velocity template. Basic syntax for velocity reference is
${variableName}
I am using above method to access the credentials values stored in configuration map.
We can select different action once the file processing is completed or in case of error while processing the file. I am moving the file in both scenario to the Proceesed/Error folder in the bucket respectively.
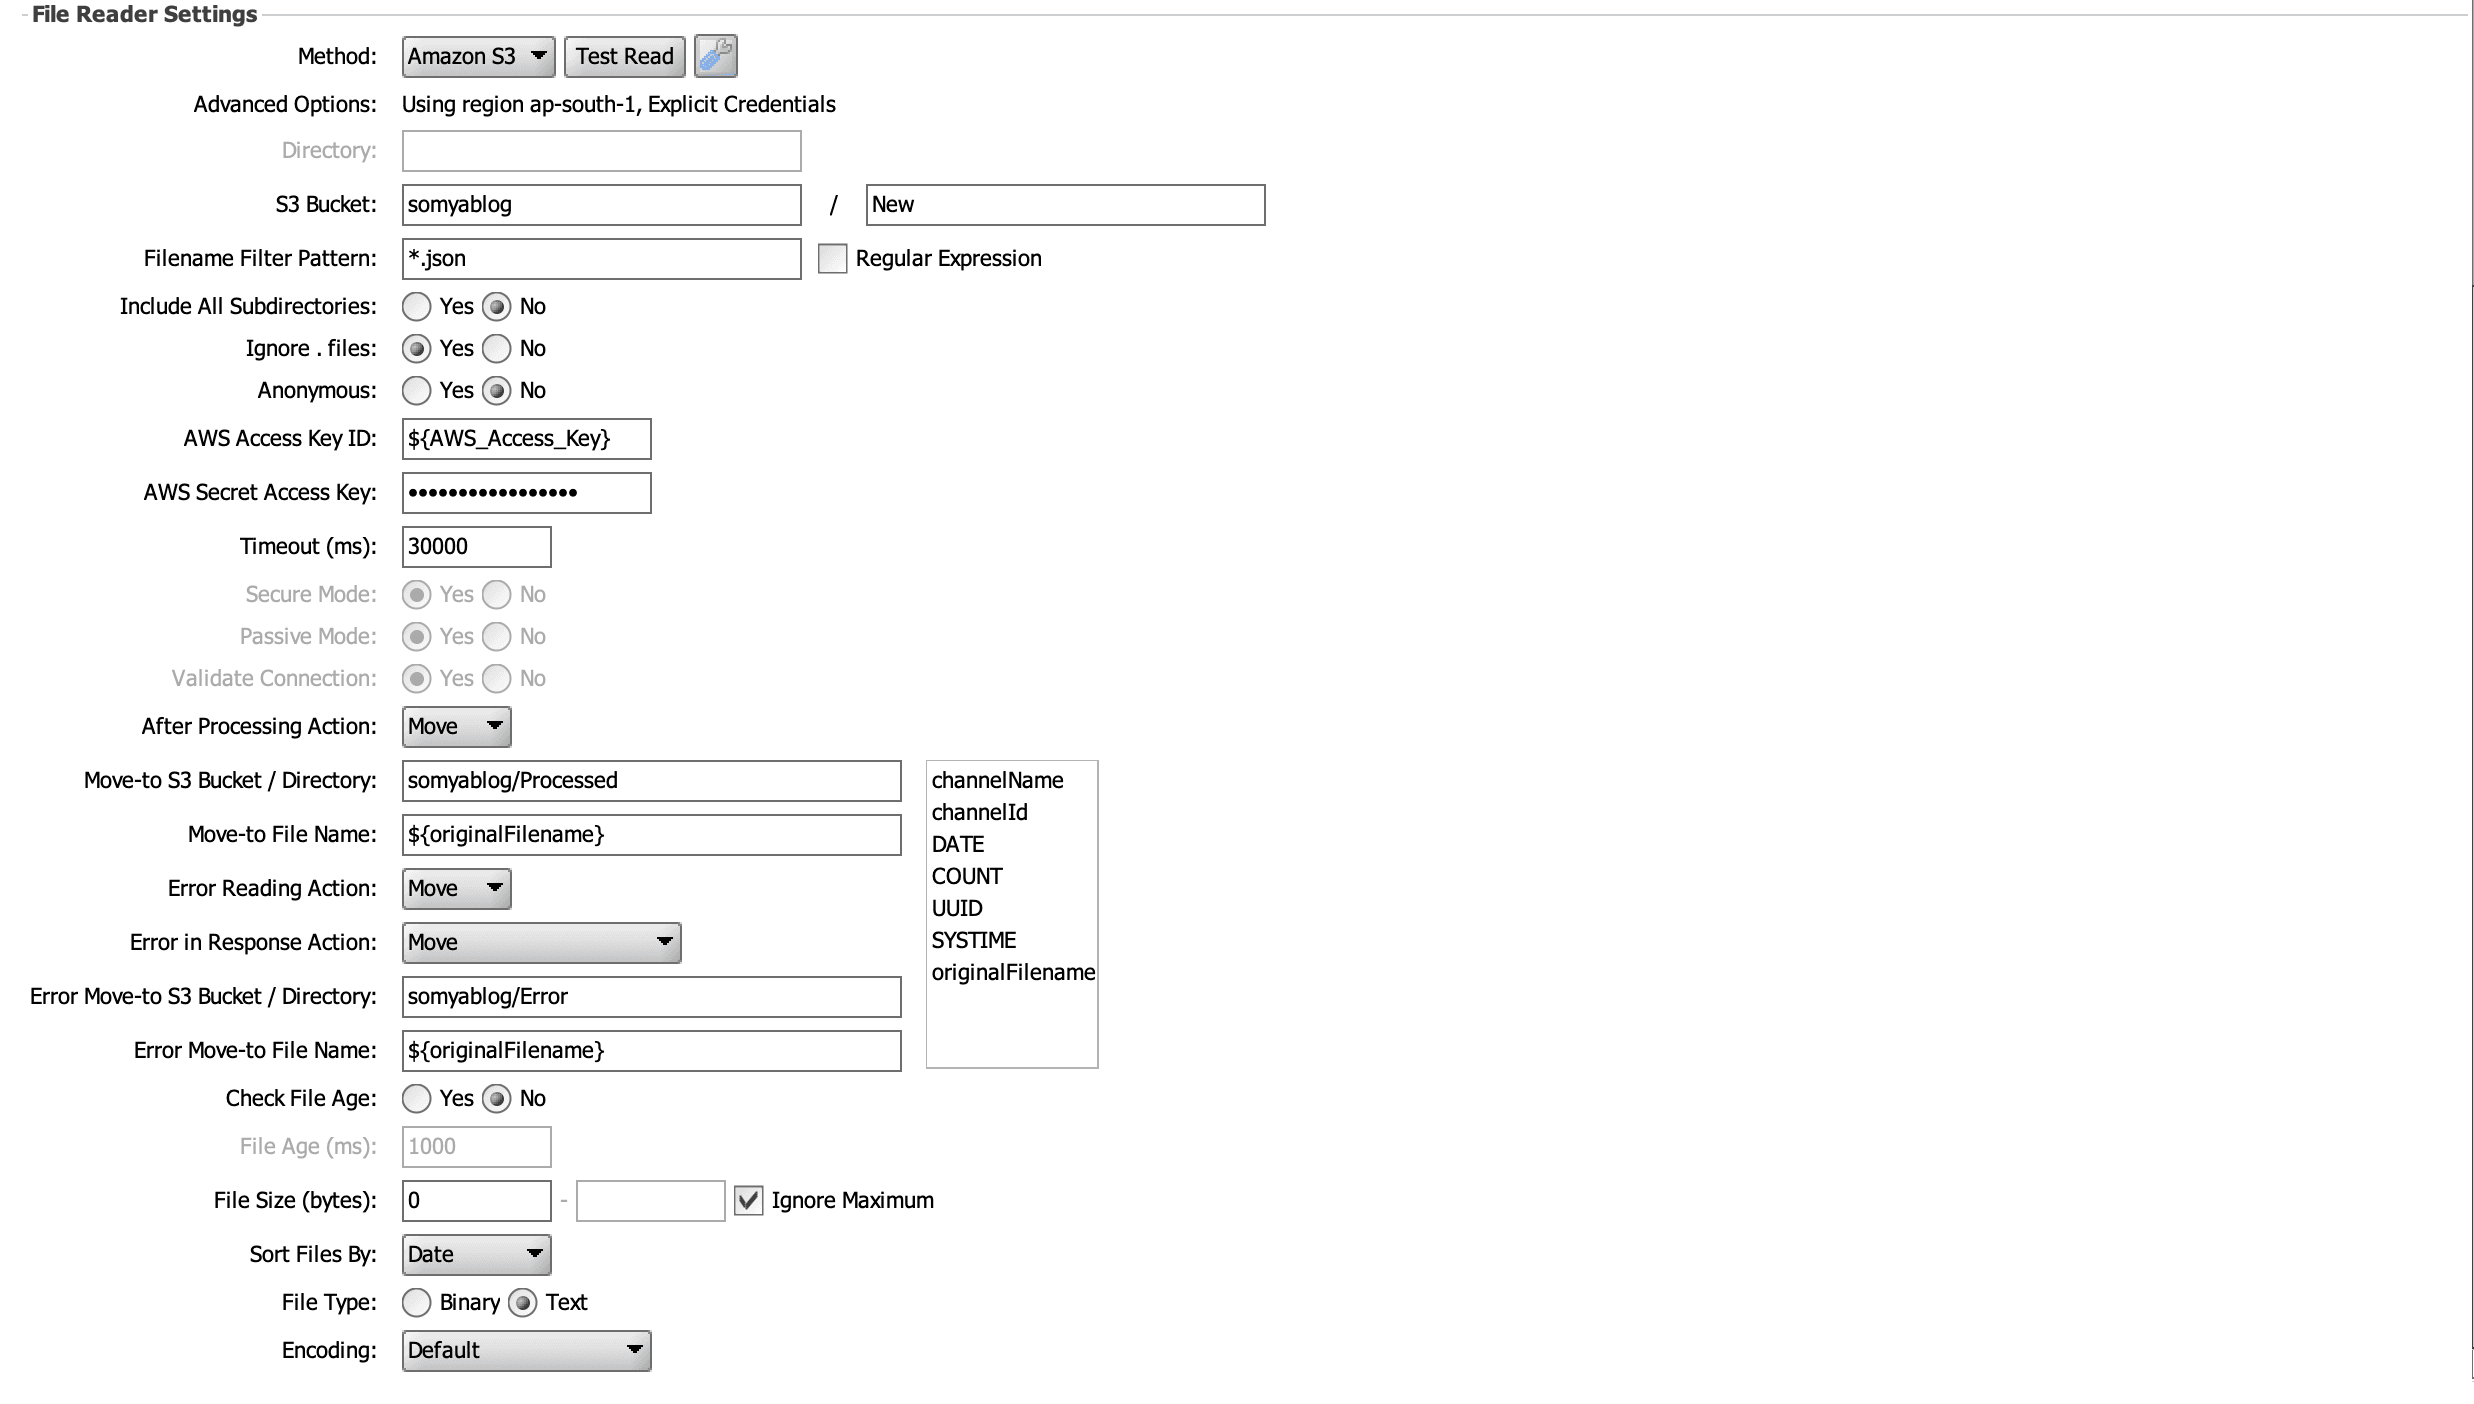
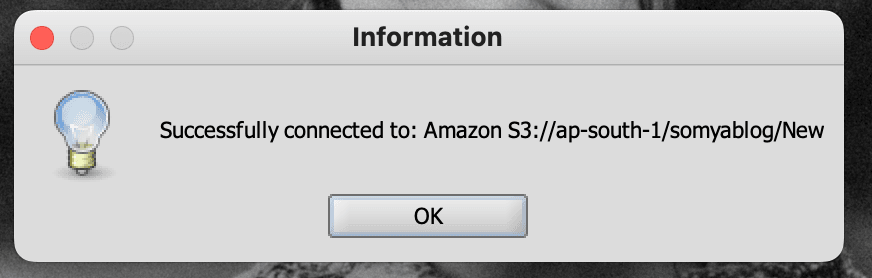
Using Test Read we can test if the connection can be establish with Amazon S3.
Destination Connector
In the destination connector(sending end of the channel), we will create a new destination with connector type as SMTP Sender for sending mail to the user.
SMTP Sender Settings
I am using gmail smtp host and TLS encryption (during the mirth launch I selected SSL Protocols as custom) for sending mail. Again using the velocity template for accessing the variables from the configuration Map for authentication and user mail details.
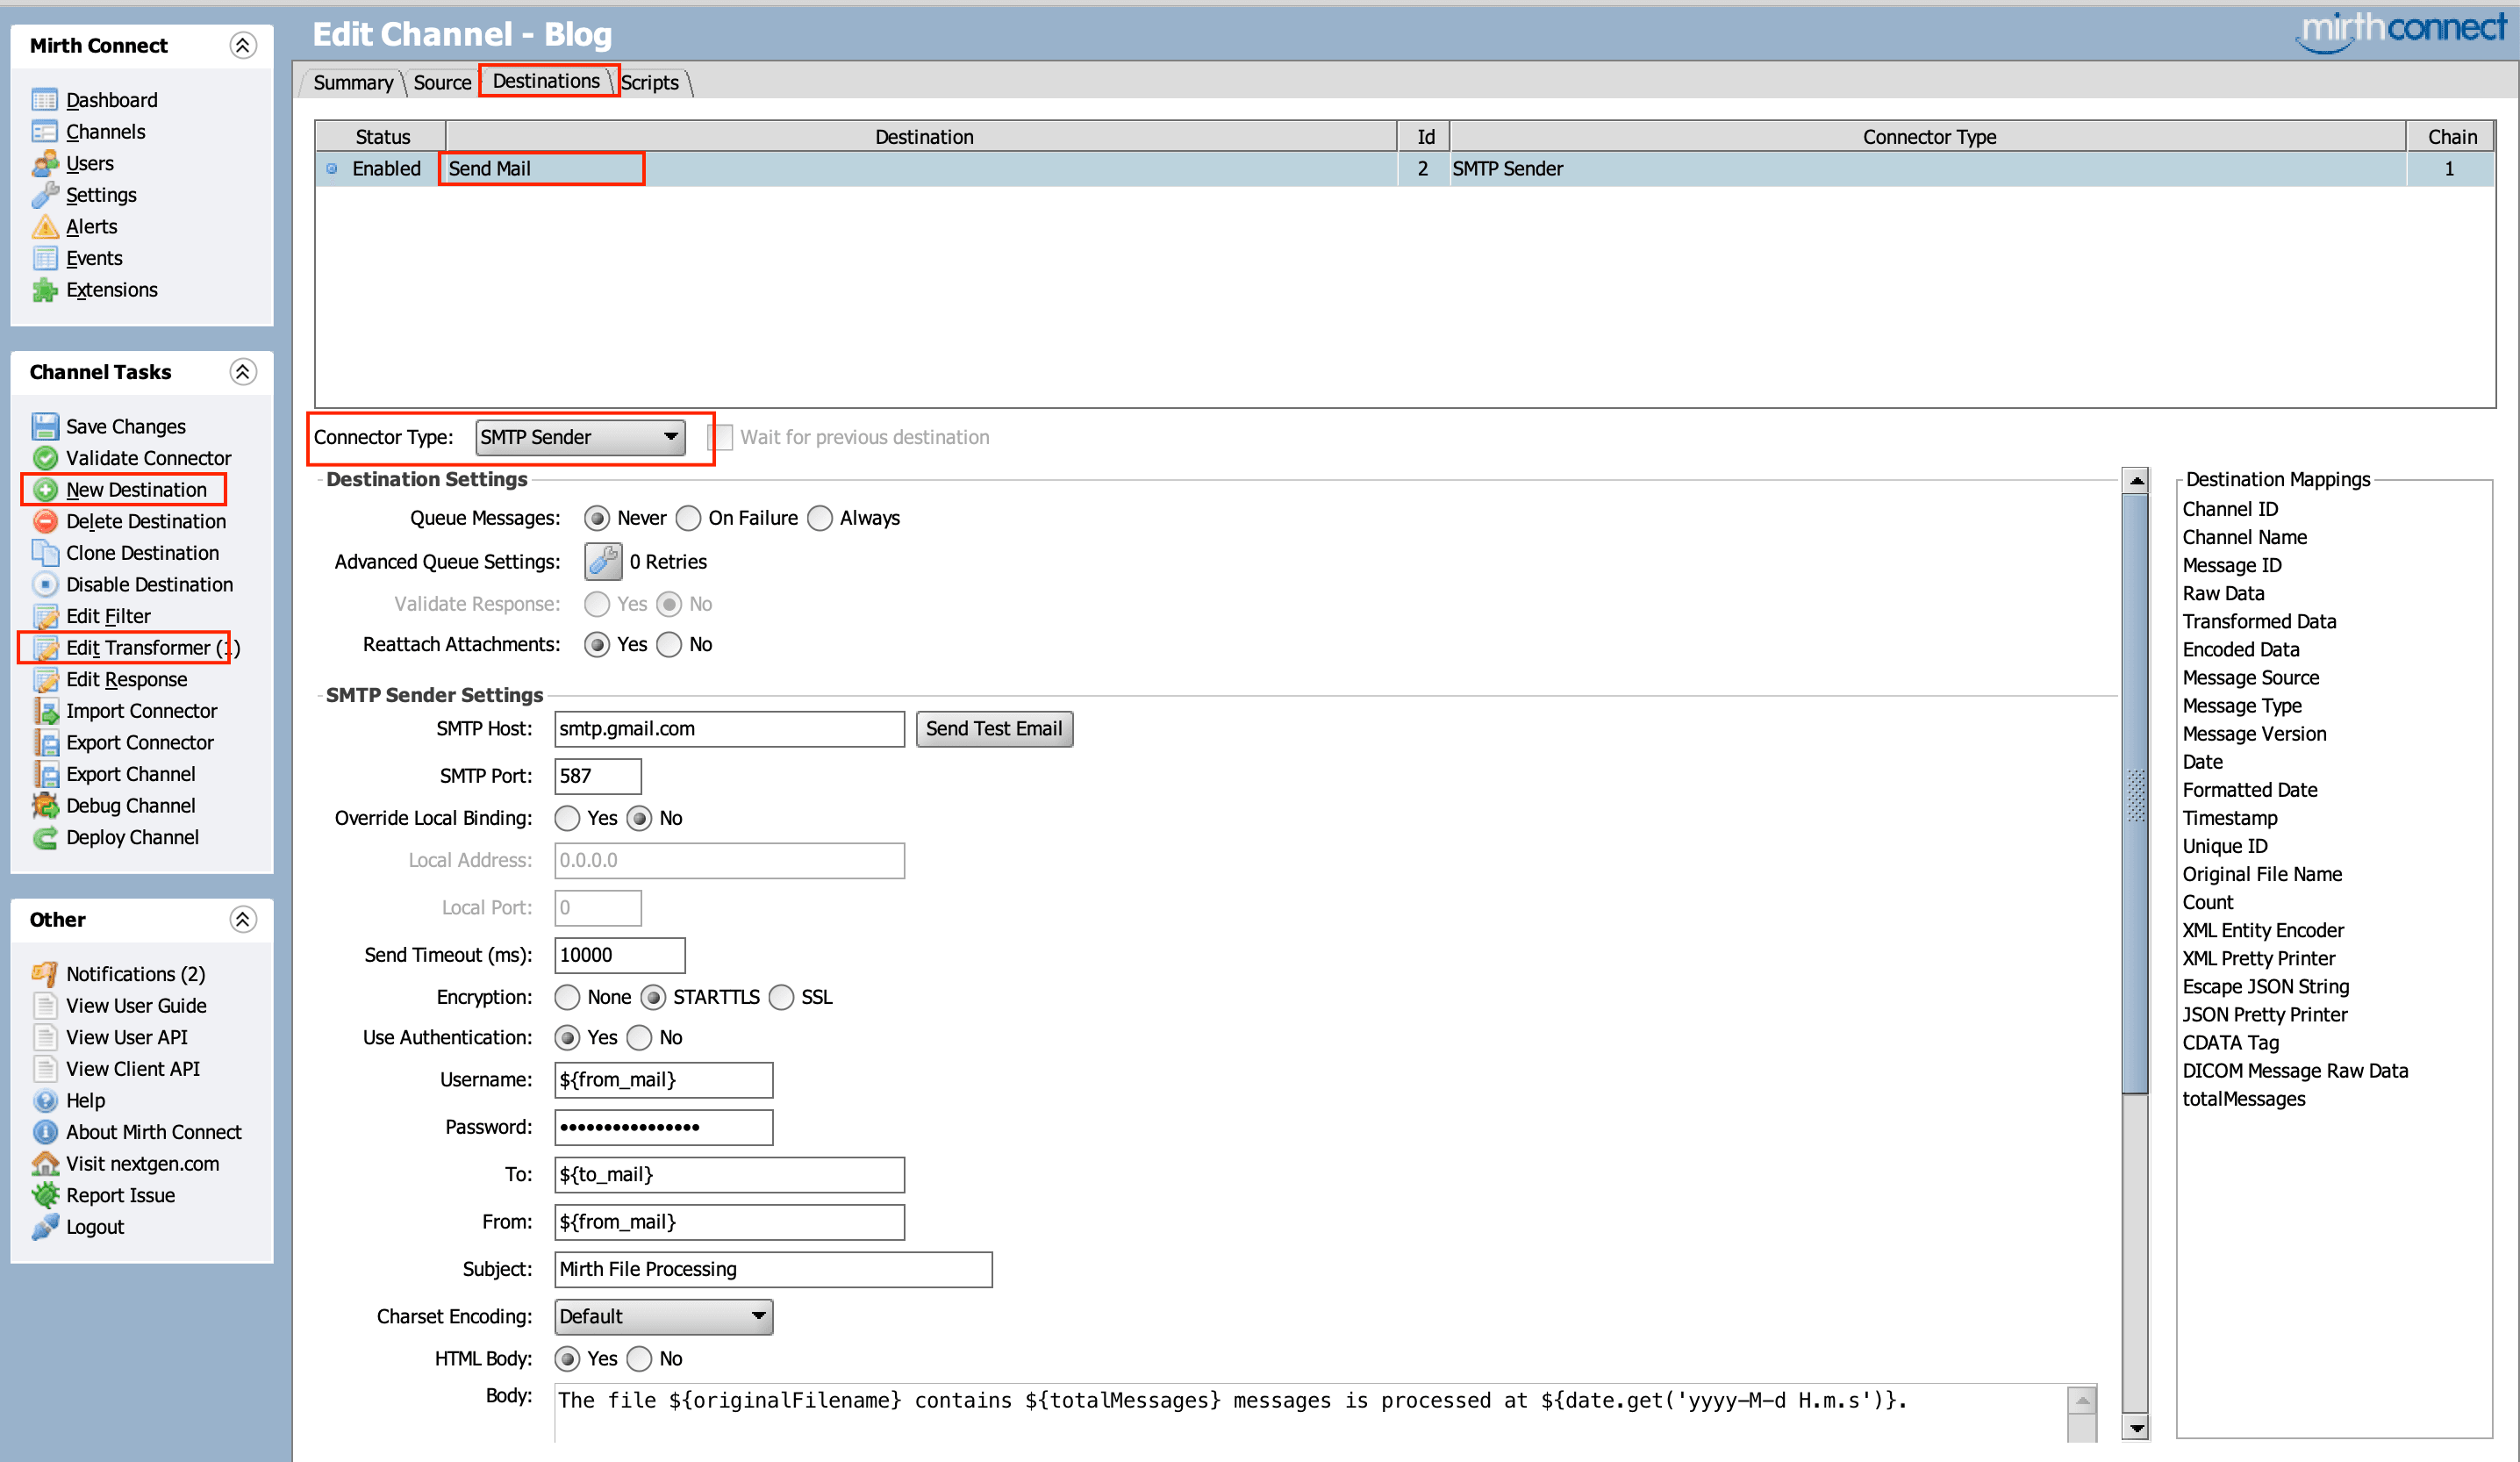
Using Send Test Email we can test if the mail is being send or not.
I have also added the transformer step for the processing of the file details. In the destination select Edit Transformer from the channel task.
Transformers
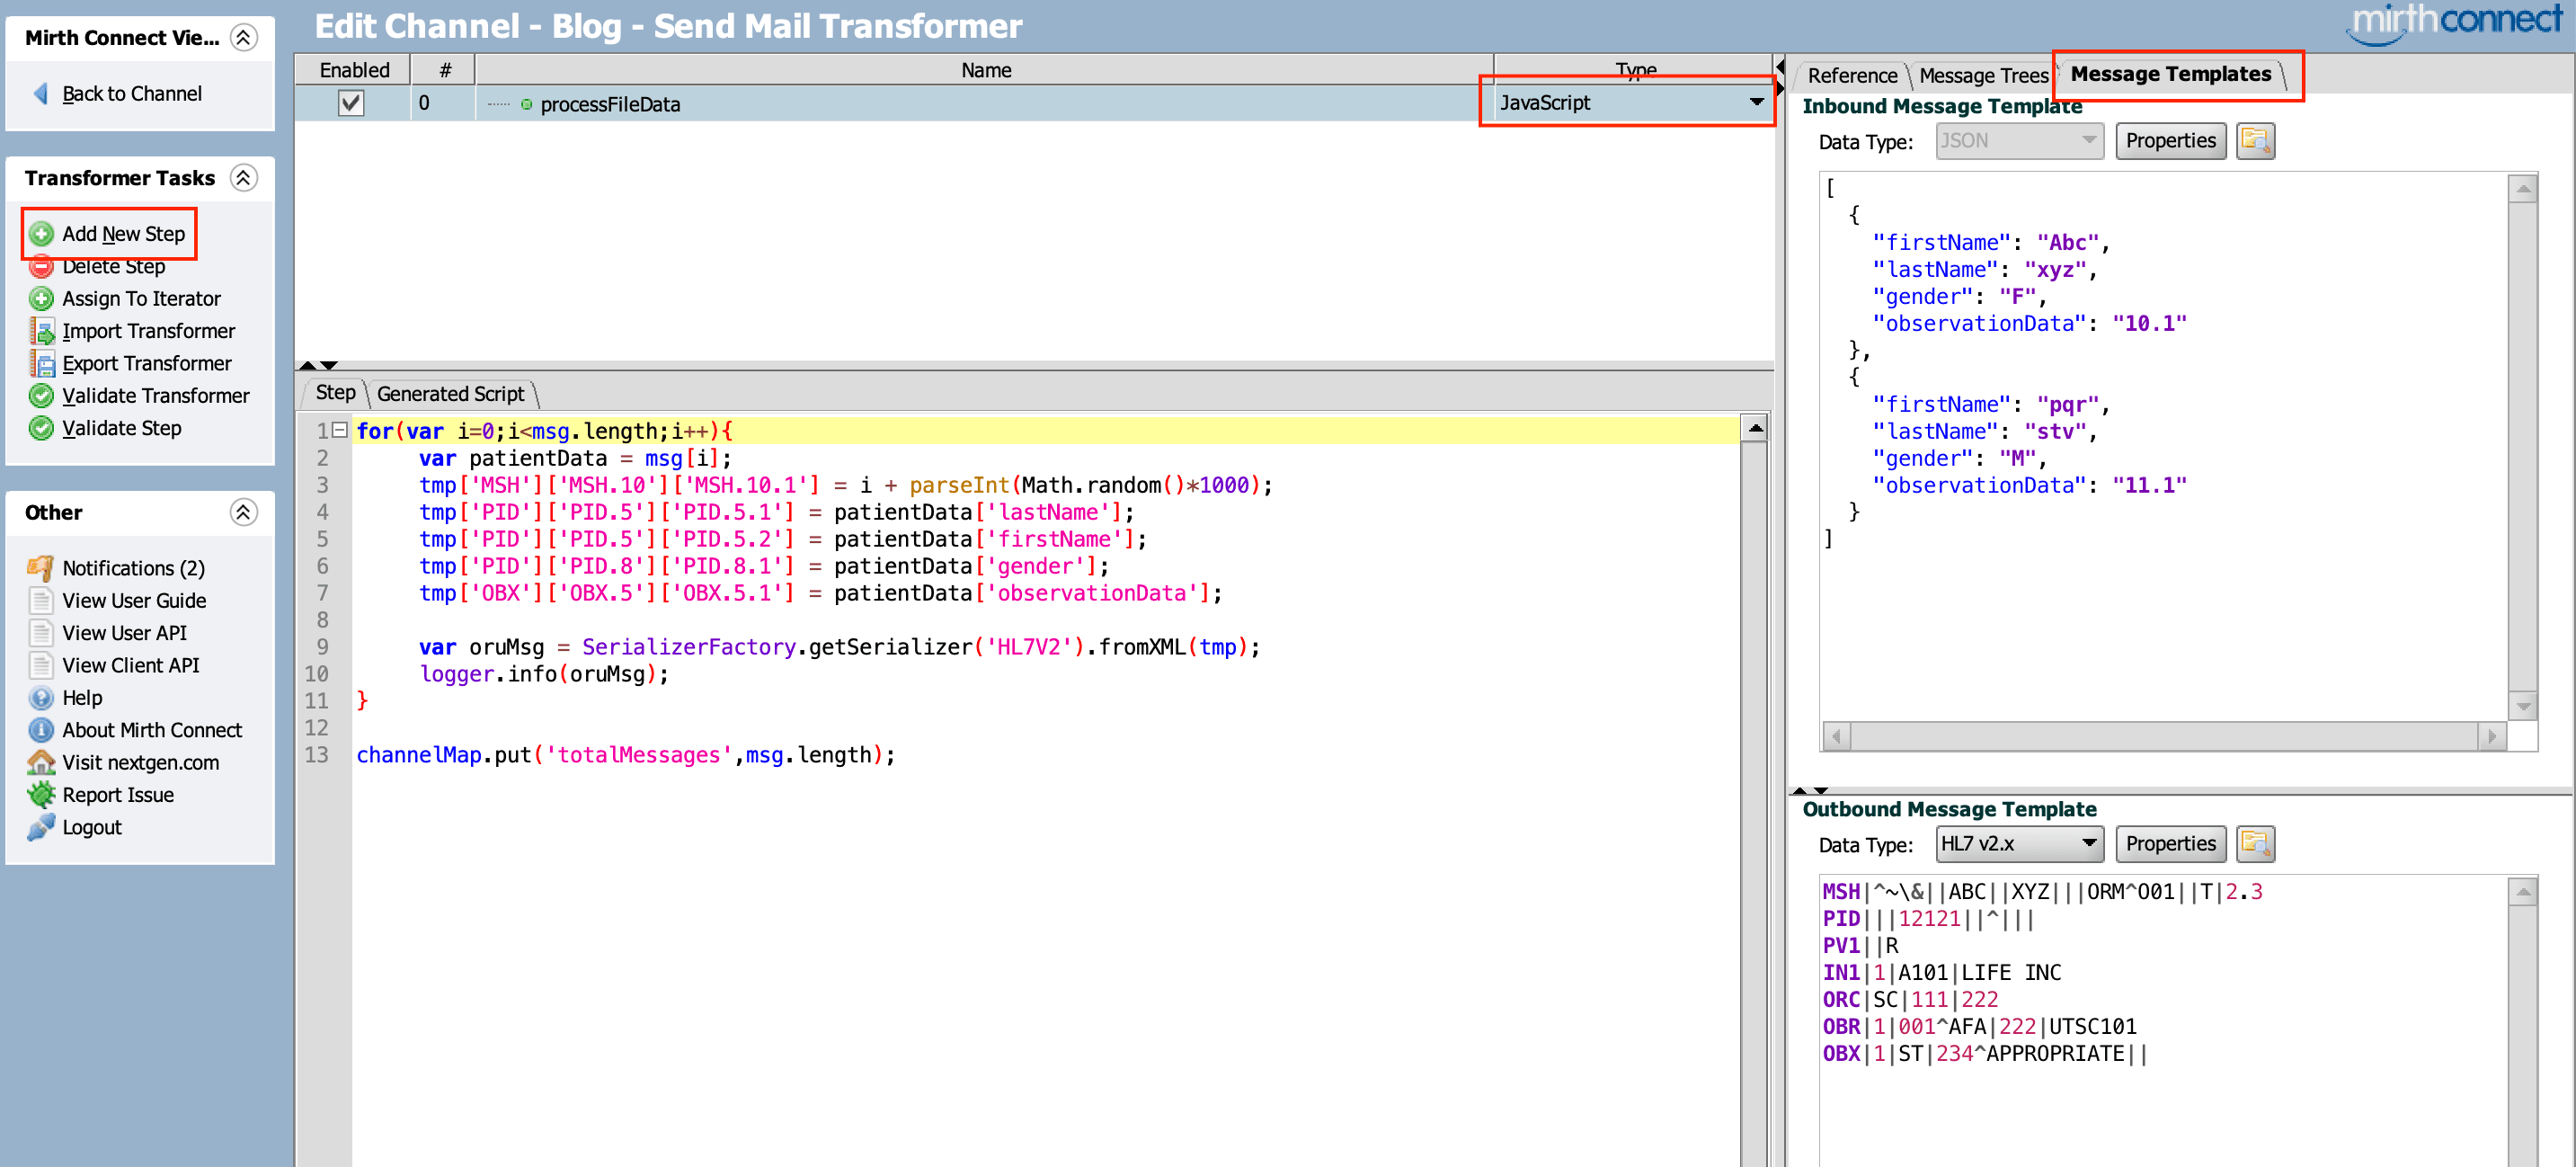
It is the piece of a connector that modifies a message, converts a message from one format to another, and extracts pieces of the message for later use.
The below transformer is reading the json data from the file(Inbound Message Template) and creating the HL7 message(Outbound Message Template) and printing it. Also storing the number of messages that will be created and used the information to inform user how many message has been processed in the file.
In the end I have saved the channel settings and deployed it. Once deployed it will appear in the dashboard.

- Testing
In the bucket. I have added the message file at the location.

At the specified time the channel read the file and printed the HL7 messages it created and send the mail to the user.

I hope that you have learned something new about mirth-connect from the blog.


