

 ChatGPT
  Perplexity
  Gemini
  Claude AI
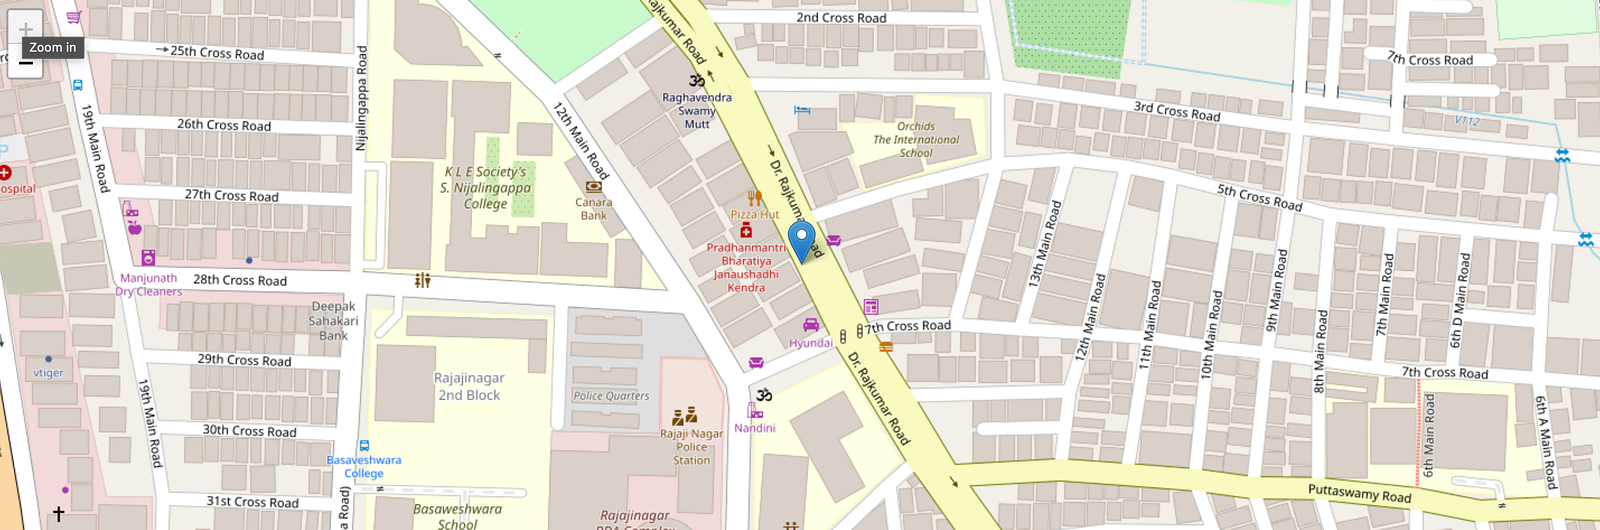
So, if you’ve landed here, chances are you’re either on the hunt for some open-source map magic or you’ve already checked Google Maps API pricing 😅
Let’s be honest, paying for maps when your app starts getting traffic can feel like watching your wallet slowly catch fire. That’s why in this post, I’m going to show you how to integrate **interactive maps in Next.js using React-Leaflet **completely free of cost. No surprise bills, no crying over usage limits.
Why React-Leaflet + OpenStreetMap?
- Leaflet → a lightweight, open-source JavaScript library for maps.
- React-Leaflet → a React wrapper around Leaflet, making it easy to use with React and Next.js.
- OpenStreetMap (OSM) → free, community-driven map tiles you can use without worrying about hidden costs.
Together, these tools give you all the flexibility of Google Maps without the price tag.
Getting Started with the Project
You could use React with React-Leaflet, and everything would work just fine. But for this example, I’m using Next.js
//Now, install the required dependencies:
npm install react-leaflet@next
npm install -D @types/leaflet
react-leaflet@next→ the latest version that supports React and Next.js@types/leaflet→ type definitions for TypeScript.
Building the Map Component
Inside your project, create a Map.tsx file under src/app/components/
React-Leaflet doesn’t support SSR due to Leaflet construction, according to its documentation there’re limitations that’s why we use the directrice "use client" in our Map component
Leaflet makes direct calls to the DOM when it is loaded, therefore React Leaflet is not compatible with server-side rendering.
"use client";
import { MapContainer, TileLayer, Marker, Popup } from "react-leaflet";
import { LatLngExpression, LatLngTuple } from "leaflet";
import "leaflet/dist/leaflet.css";
import "leaflet-defaulticon-compatibility/dist/leaflet-defaulticon-compatibility.css";
import "leaflet-defaulticon-compatibility";
interface MapProps {
posix: LatLngExpression | LatLngTuple;
zoom?: number;
}
const defaults = {
zoom: 19,
};
const Map = ({ zoom = defaults.zoom, posix }: MapProps) => {
return (
<MapContainer
attributionControl={false}
center={posix}
zoom={zoom}
scrollWheelZoom={false}
style={{ height: "100%", width: "100%" }}
>
<TileLayer
attribution='© <a href="https://www.openstreetmap.org/copyright">OpenStreetMap</a> contributors'
url="https://{s}.tile.openstreetmap.org/{z}/{x}/{y}.png"
/>
<Marker position={posix} draggable={false}>
<Popup>Hey, I'm a popup!</Popup>
</Marker>
</MapContainer>
);
};
export default Map;
### MapContainer
- Think of it as the root component that sets up the Leaflet map instance. It’s required because it initializes and manages the lifecycle of the map.
- Props you pass here (like
center,zoom,scrollWheelZoom) configure the map itself. Without this, no map is rendered.
<MapContainer center={[51.505, -0.09]} zoom={13} scrollWheelZoom={false} />
### TileLayer
- Leaflet by itself is just a mapping engine it needs a tile provider (like Google Maps, OpenStreetMap, Mapbox) to actually display the map.
TileLayertells the map where to fetch tiles from. Theurlprop is where you provide the tile source (here: OpenStreetMap is given).- The
attributionis legally required for most providers.
<TileLayer
url="https://{s}.tile.openstreetmap.org/{z}/{x}/{y}.png"
attribution='© <a href="https://www.openstreetmap.org/copyright">OpenStreetMap</a> contributors'
/>
### Marker
- Used to place a pin / point of interest on the map at a given latitude & longitude.
- By default, it uses the classic Leaflet blue pin icon (unless overridden). You can make it
draggableorstatic. - Needs a
positionprop → the lat/long coordinates.
<Marker position={[51.505, -0.09]} />
### Popup
- A small overlay window that appears when you click on a marker (or other supported map elements).
- Typically used to show details about that location. Can contain plain text or React components.
<Marker position={[51.505, -0.09]}>
<Popup>Hello! I'm a popup.</Popup>
</Marker>
Rendering the Map in a Next.js Page
As a SSR component our page can’t handle with map importing by default that would produce an error, so we can use dynamic from Next to import a component “turning off” the SSR strategy
"use client";

import dynamic from "next/dynamic";

const Map = dynamic(() => import("@/app/components/Map"), { ssr: false });

export default function Home() {
 return (
   <div className="bg-amber-100 mx-auto my-5 w-[98%] h-[480px]">
     <Map posix={[12.995218768575647, 77.5548894807005]} />
   </div>
 );
}
And that’s it — you’ve just added a fully functional, open-source map to your Next.js app without touching Google Maps. If you’re not worried about pricing, you can also play around with different tile layers such as Mapbox, MapTiler, or even Google Maps.
🔗 GitHub Repository
Want to skip the setup and try it out directly? Here’s the full code on GitHub: